Blog
Installation Guide: How to Install IP67/IP68 Extrusion LED Strips
Installation Guide: How to Install IP67/IP68 Extrusion LED Strips

Aurora Jin.UpdatedJuly 23, 2026|9 mins Read
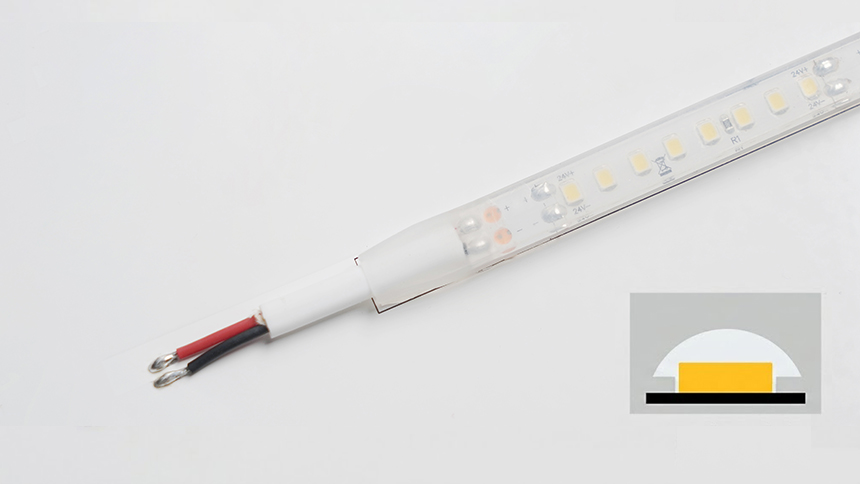
Extrusion LED strips with an IP67/IP68 waterproof rating are widely used in outdoor architectural, landscape, façade, bridge lighting, commercial buildings, and other demanding environments. Proper installation ensures waterproof performance, electrical safety, and long-term reliability.
This guide provides the complete installation process, including how to install the extrusion LED strips, how to connect the LED strips to the power supply, important notes, installation tips, installation precautions and additional information you may find helpful.
What Is an Extrusion LED Strip?
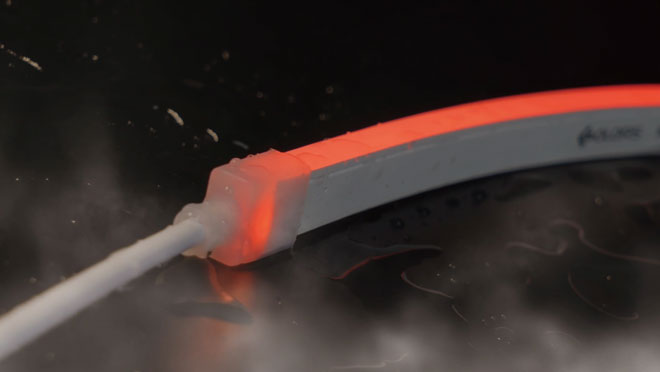
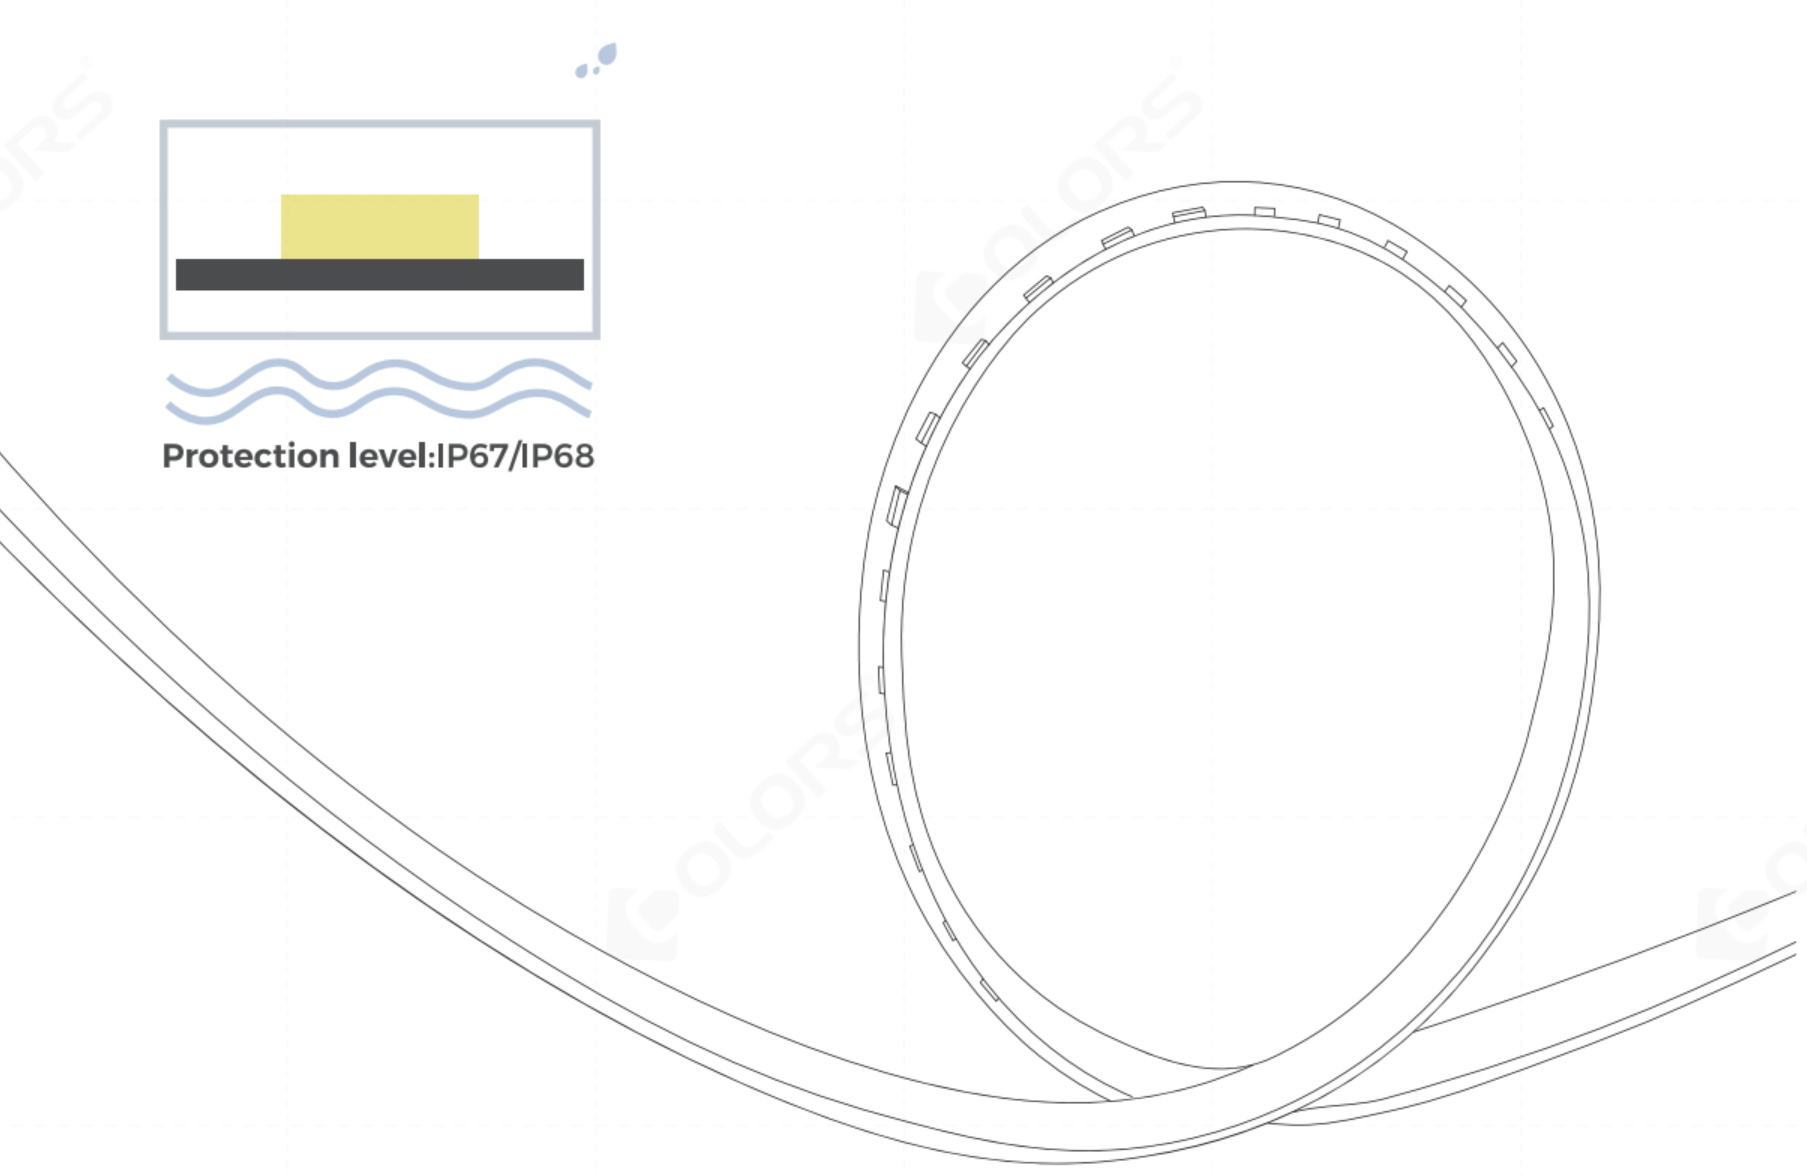
An extrusion LED strip is a silicone-extruded waterproof LED strip designed for outdoor and harsh environments. Its extrusion protection technology provides better waterproof performance, improved UV resistance, higher mechanical protection, longer service life, and stable lighting performance in outdoor applications.
How to Install Extrusion LED Strips?
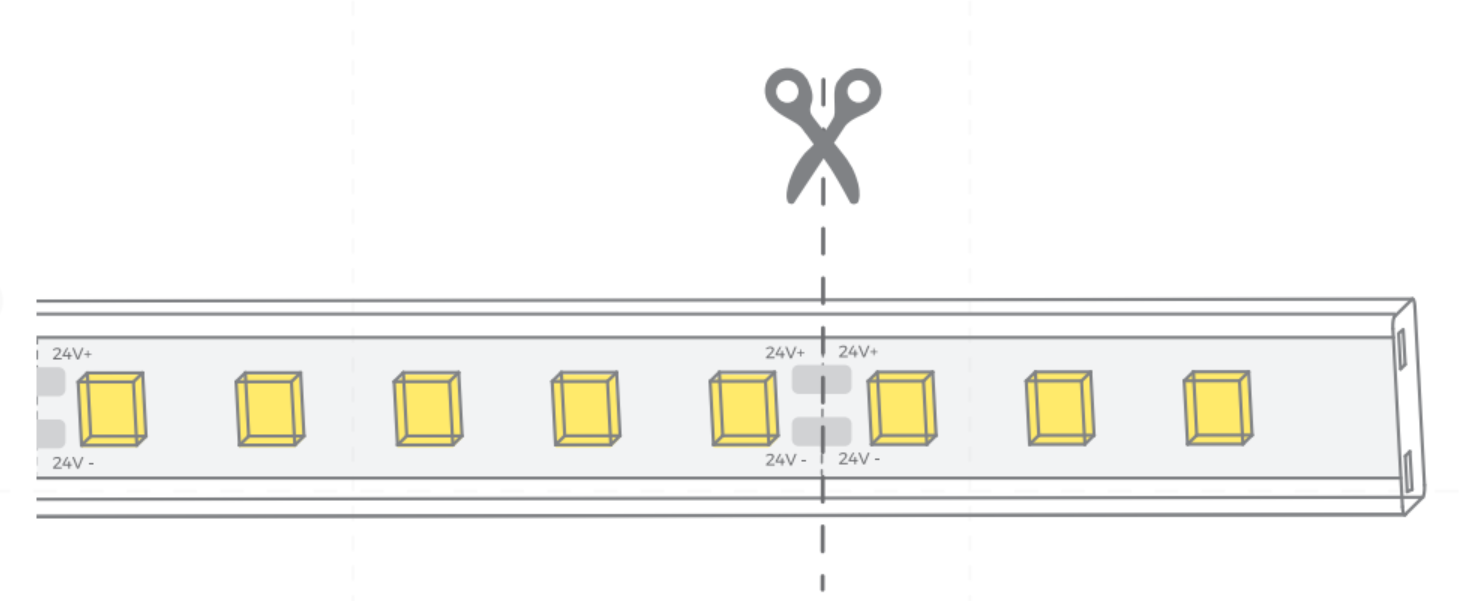
Step 1: Cut the LED strip light to an appropriate length from the cutting position.
Note: Cut the LED strip at the minimum cutting unit.
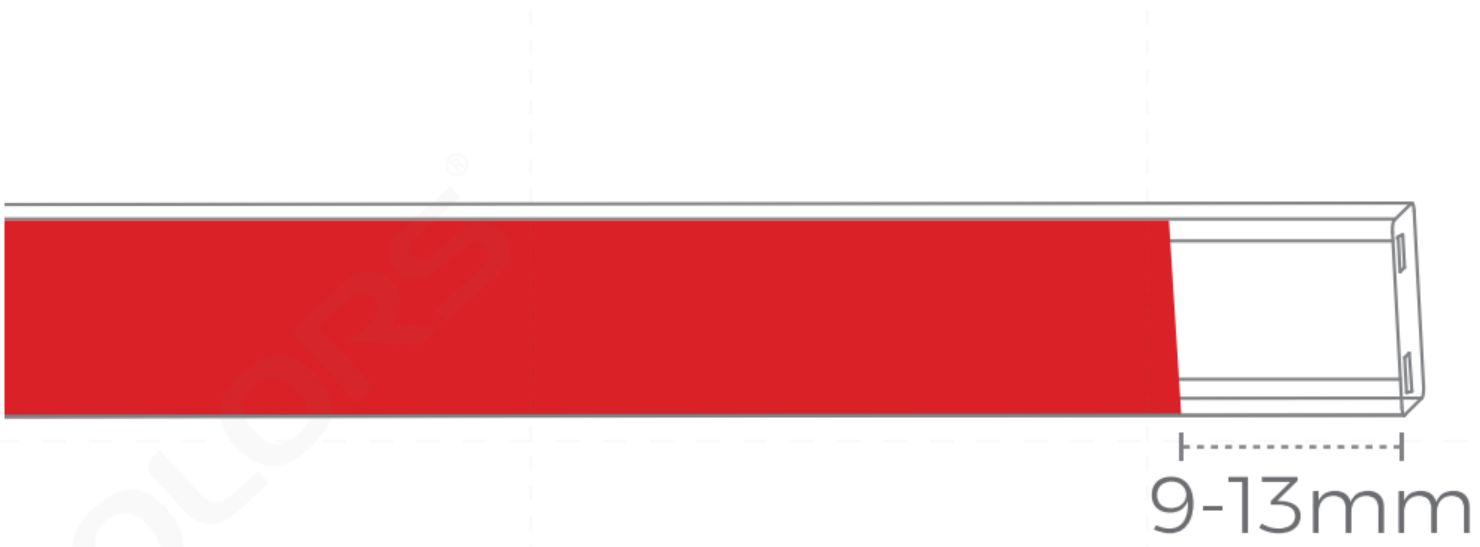
Step 2: Peel off the red 3M glue from the cutting position of the LED light strip.
Note: The length of the stripped glue is 9-13 mm. If the cut is too short, the plug cannot be inserted.
There are two methods to connect extrusion LED strips to the red and black wires: use welding wire or a solder-free connector.
Method 1 — Use of Welding Wire
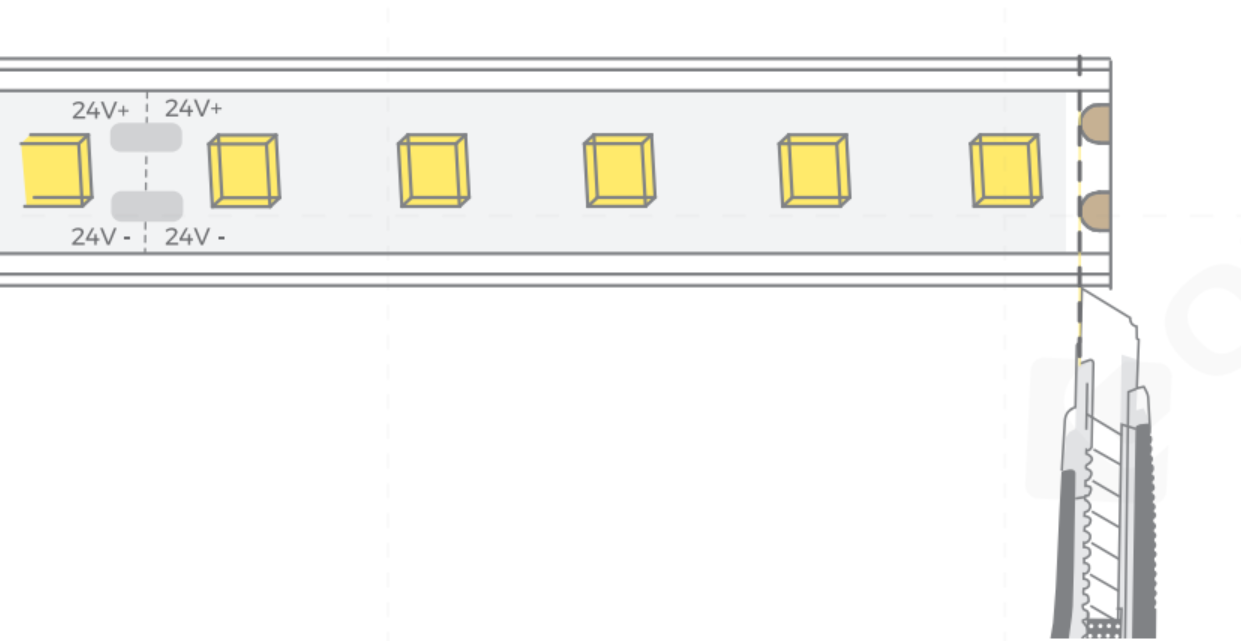
Step 3: Use a blade to peel off the glue on the surface of the pad and use the exposed pad to facilitate wire connection.
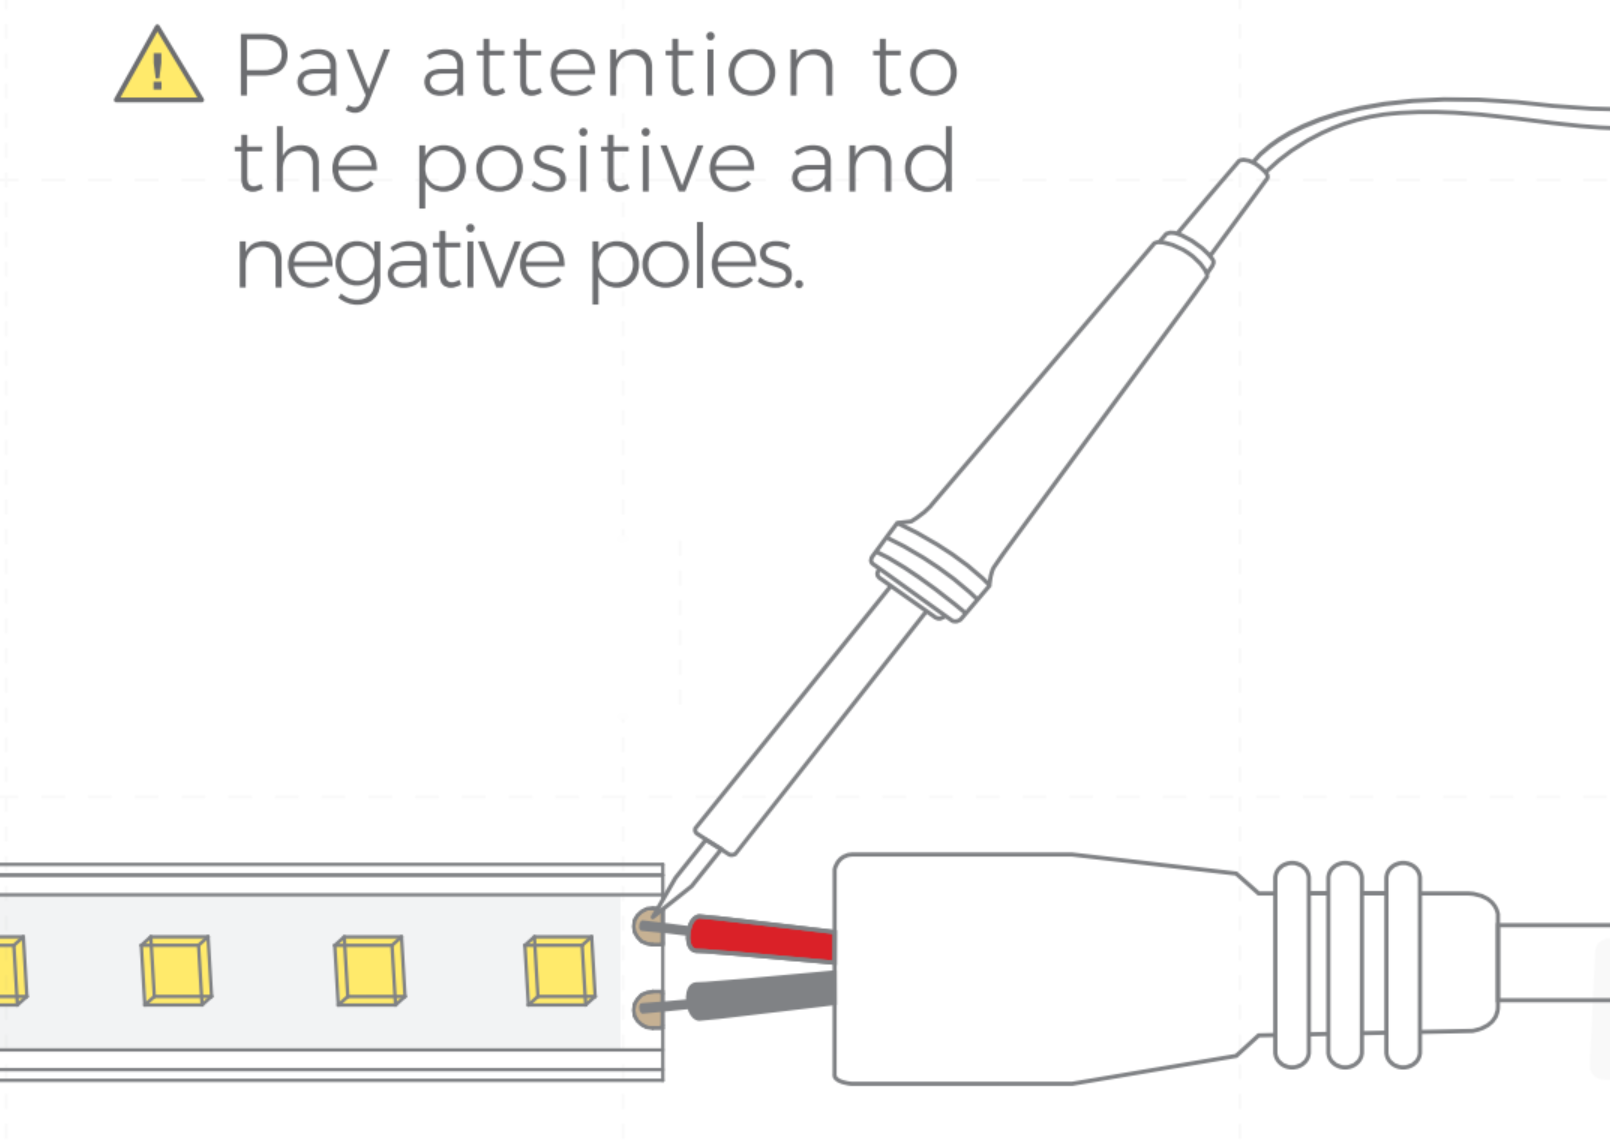
Step 4: Perform wire welding.
Note: Pay attention to the positive and negative poles.
Step 5: Inject the glue into the end cap; the end cap inside should be full of glue.
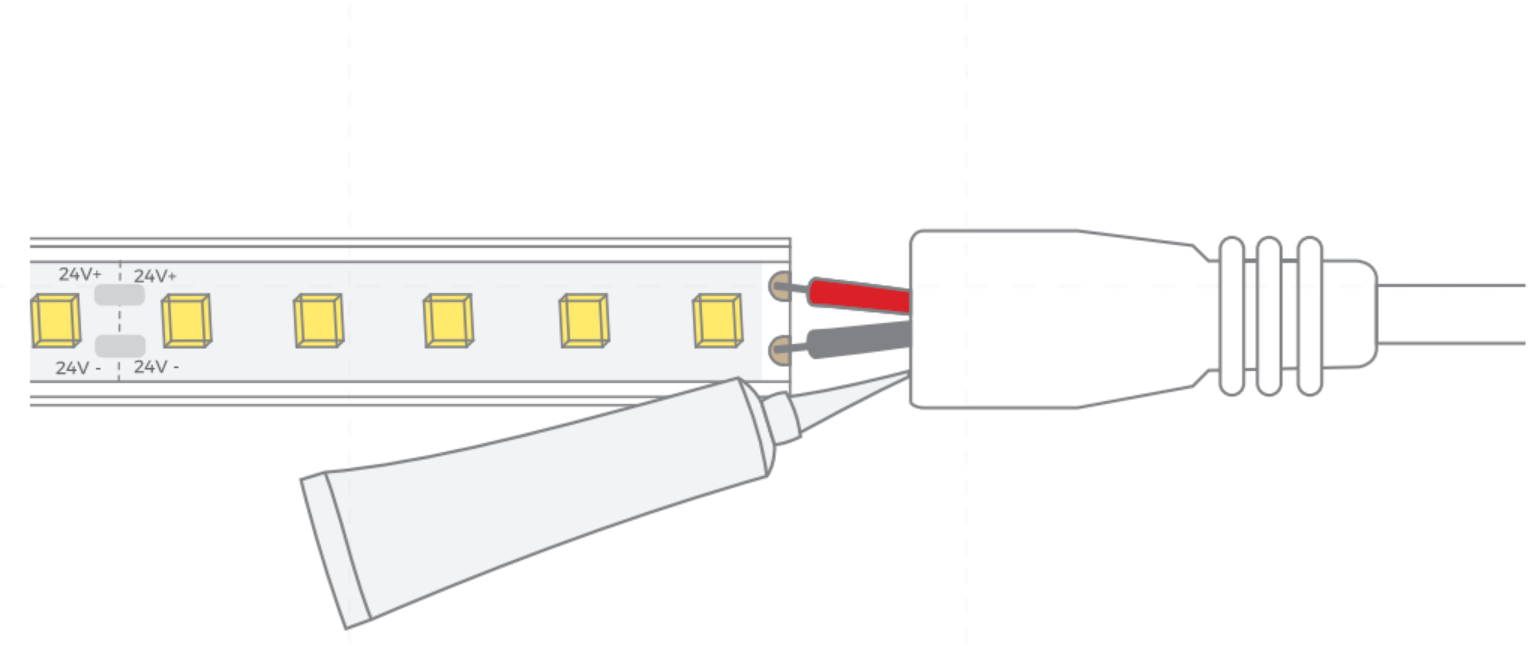
Step 6: Insert the welded LED strip light into the end cap till the bottom of it.
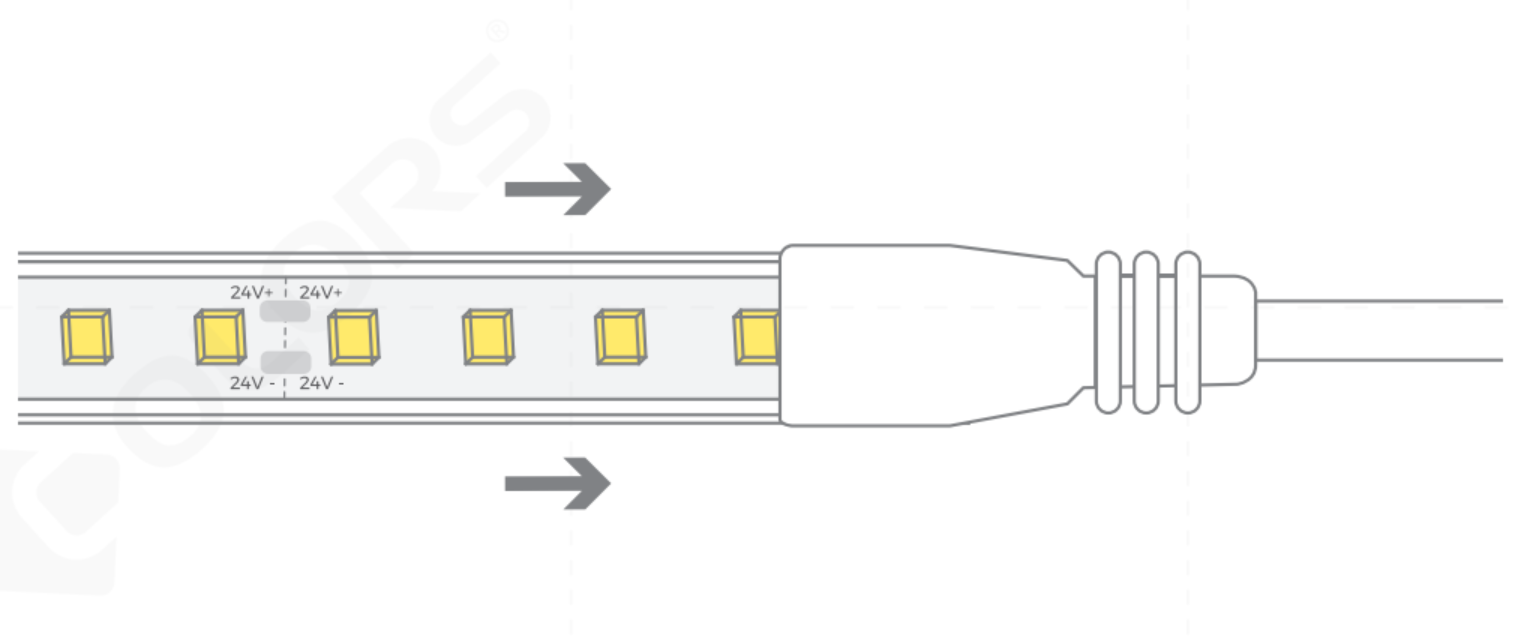
Method 2 — Use of Solder-Free Connector
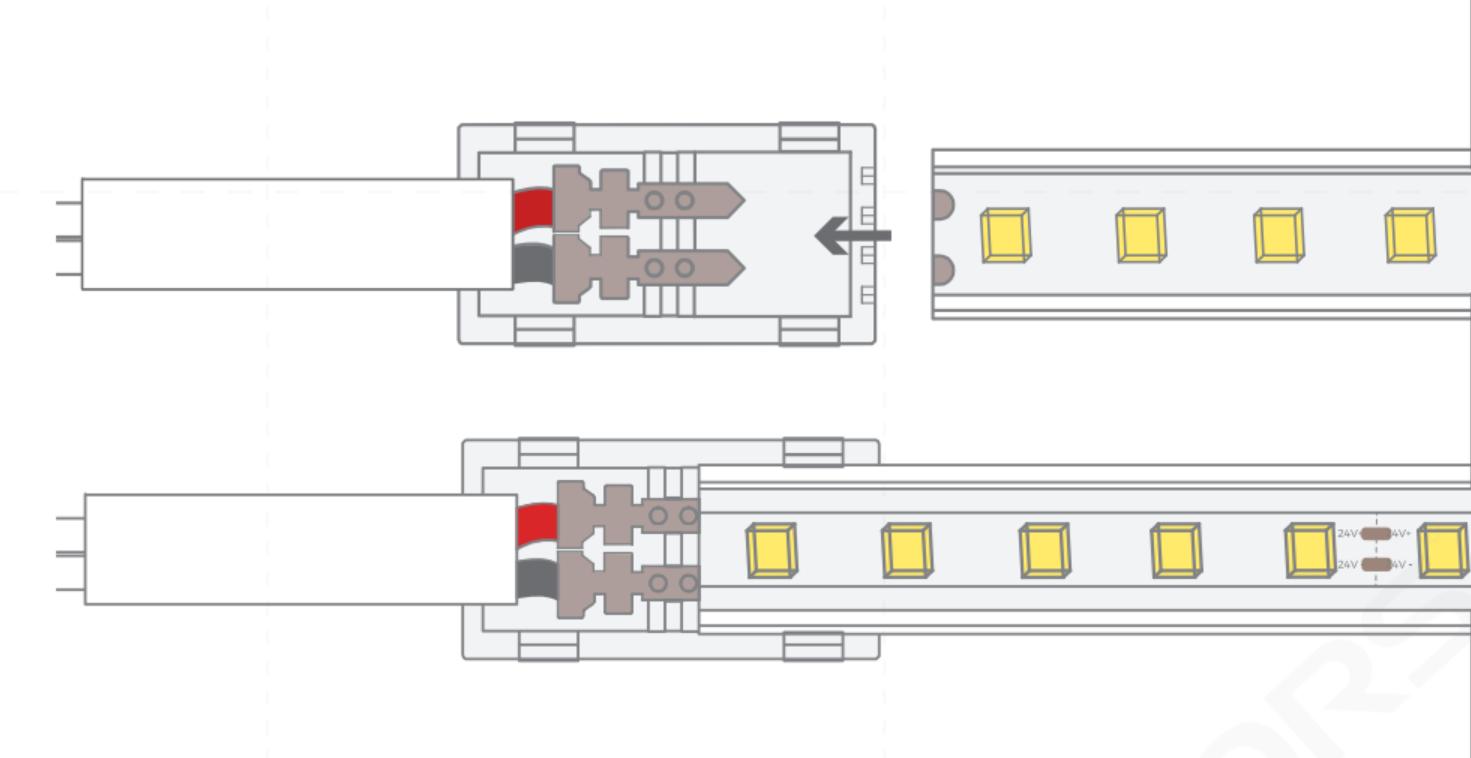
Step 3: Insert the extrusion LED strips into the lower cover assembly.
Note: The LED strip should be inserted into the place where the lower cover assembly can not be pushed anymore. The positive pole of the LED strip light is connected to the red wire on the copper contact piece, and the negative pole of the LED strip is connected to the black wire on the copper contact piece.
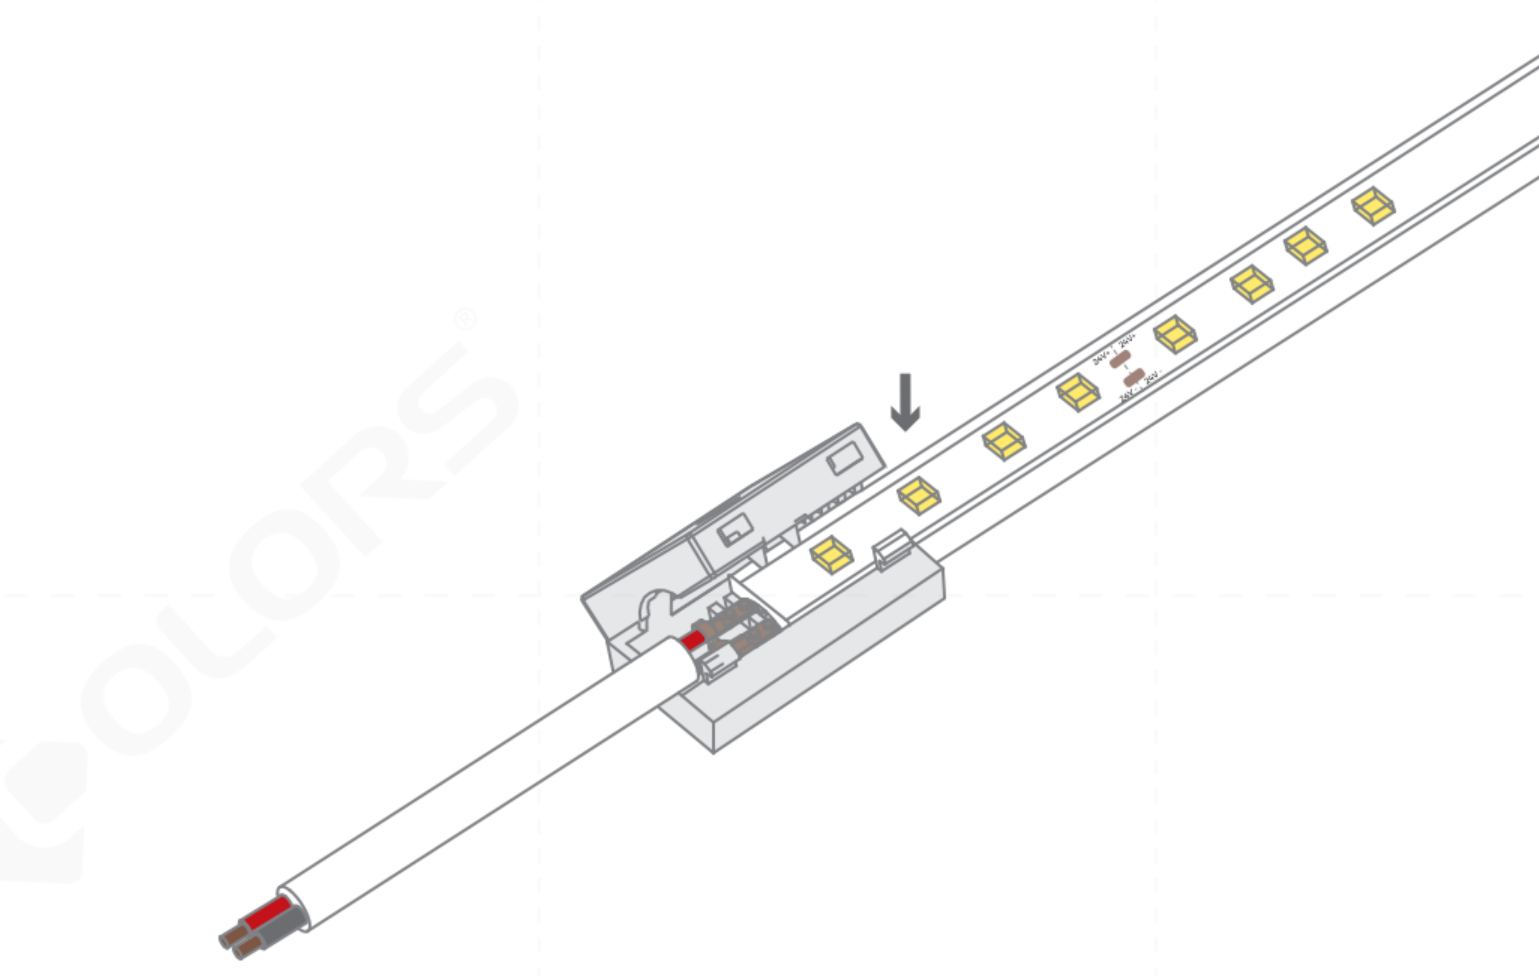
Step 4: Press the upper cover to fix the LED strip lights.
Note: Light up the LED strip and test it to prevent rework.
Step 5: Cut the glue with scissors to a glue outlet of about 4 mm, and squeeze the glue into the glue injection hole of the upper cover till the glue overflows from all sides of the cover.
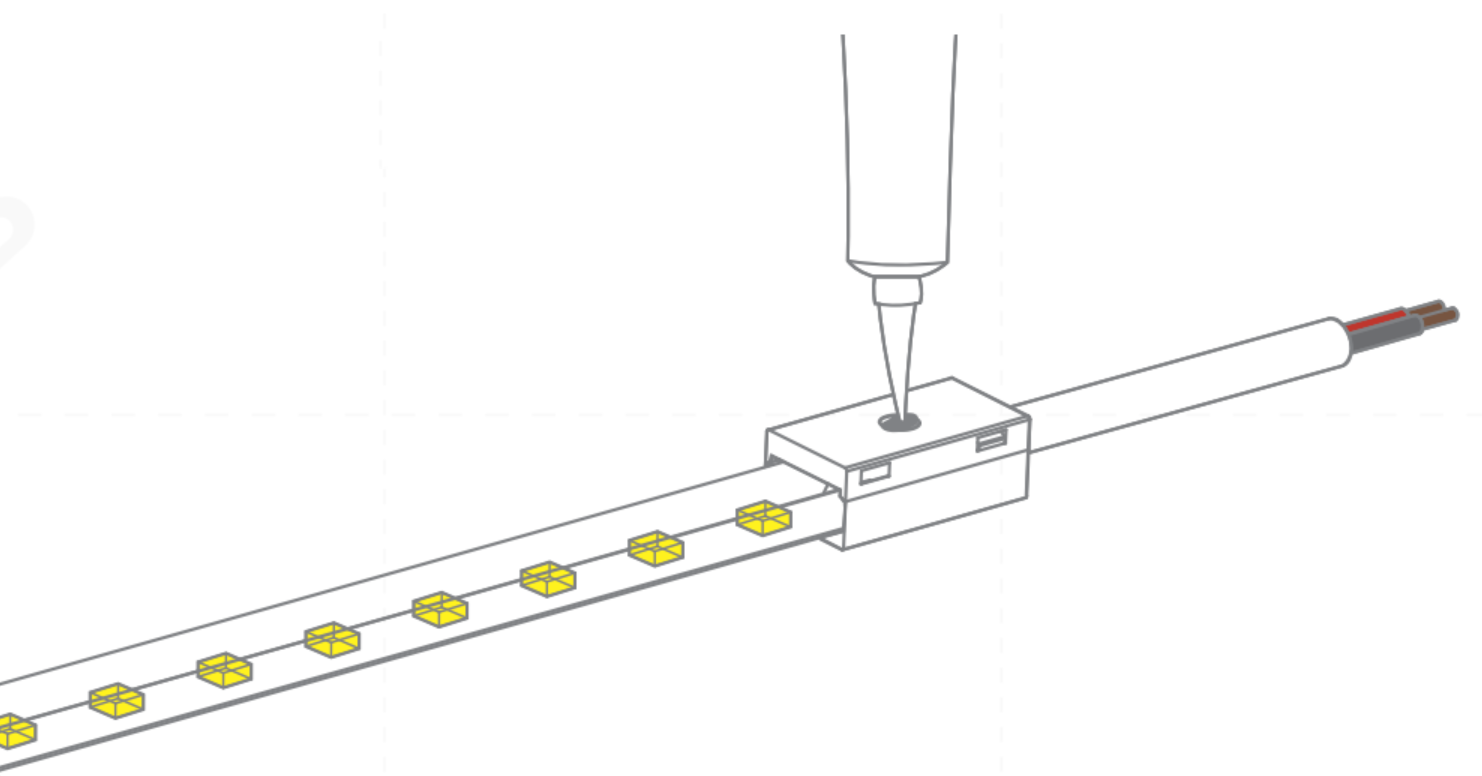
Step 6: Scrape off the remaining glue and complete the splicing.
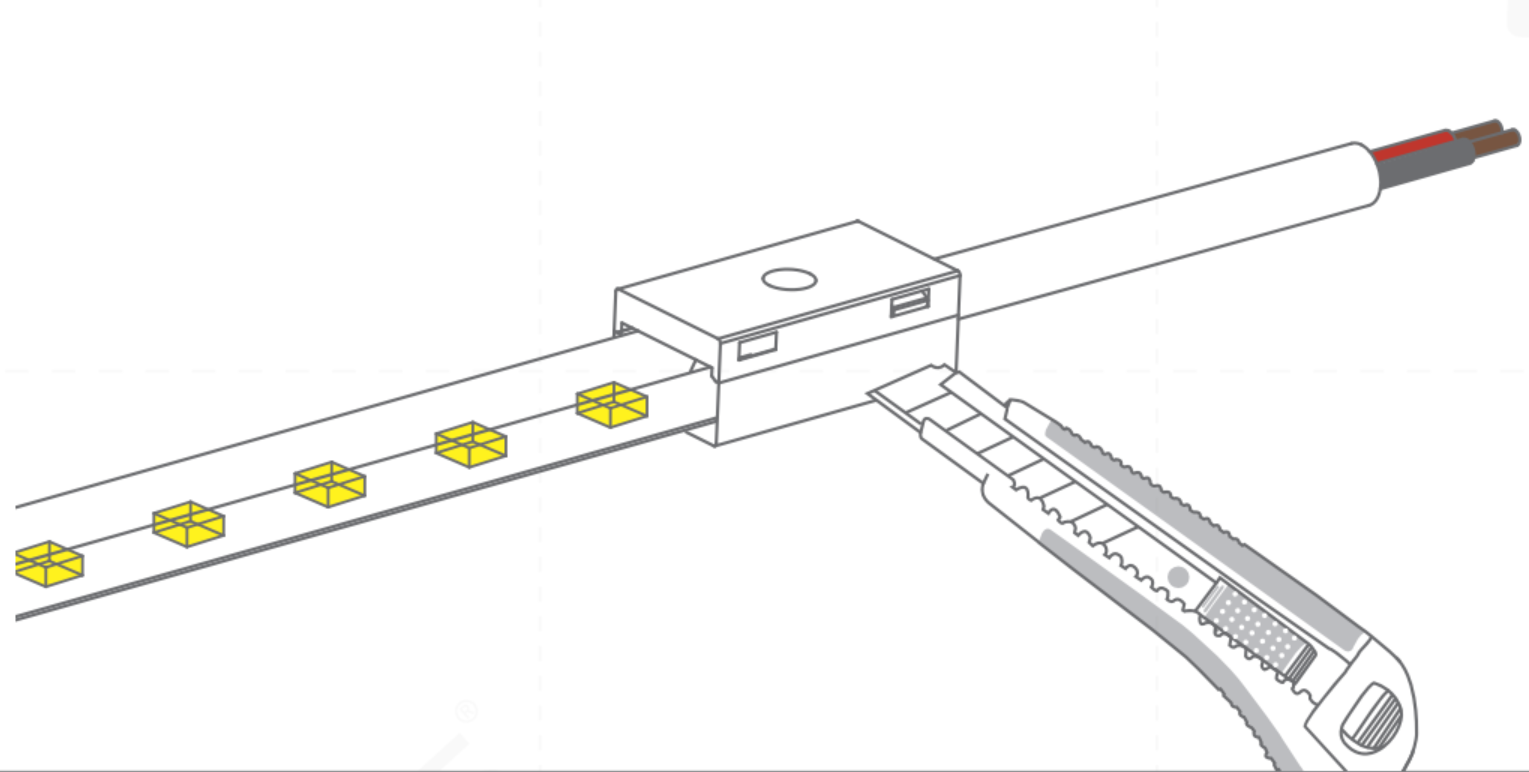
Step 7: Inject the glue into the end cap; the end cap inside should be full of glue.
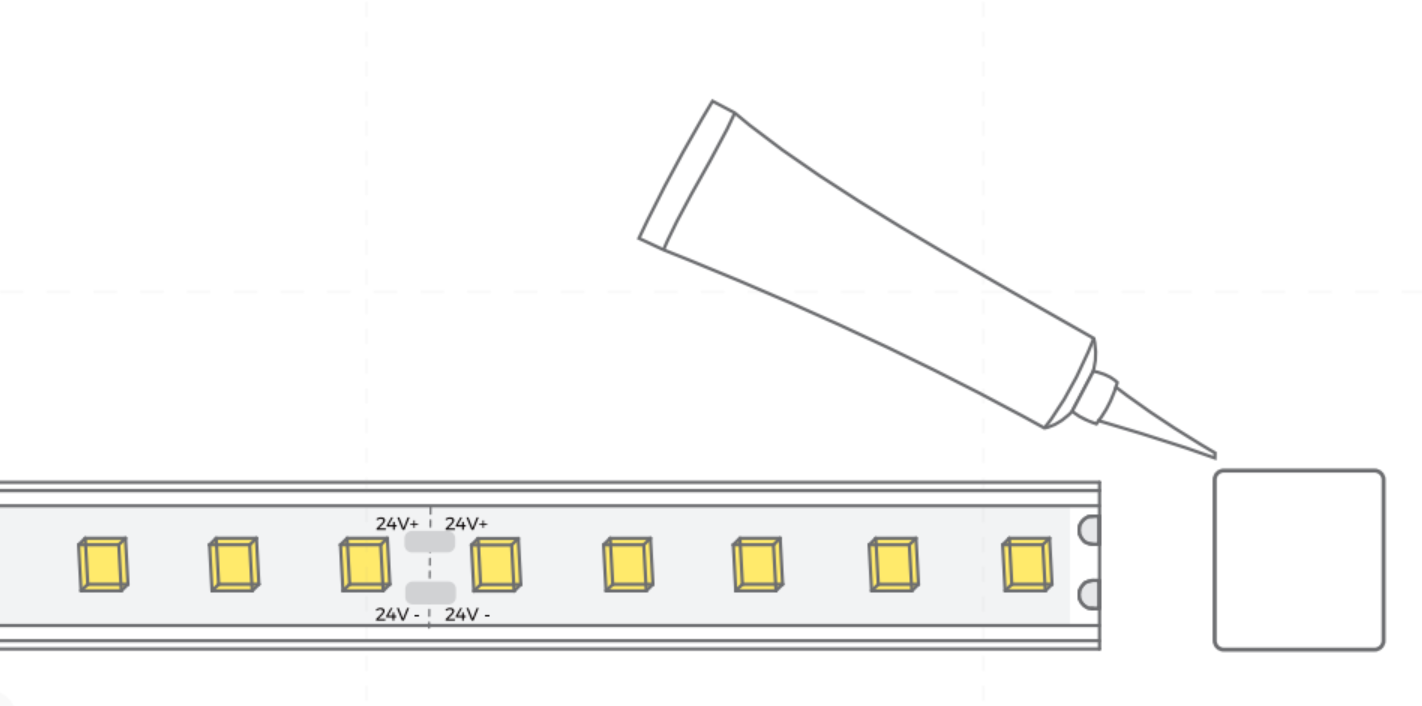
Step 8: Insert the LED strips till the bottom of the end cap. Keep the end cap still for 12 hours.
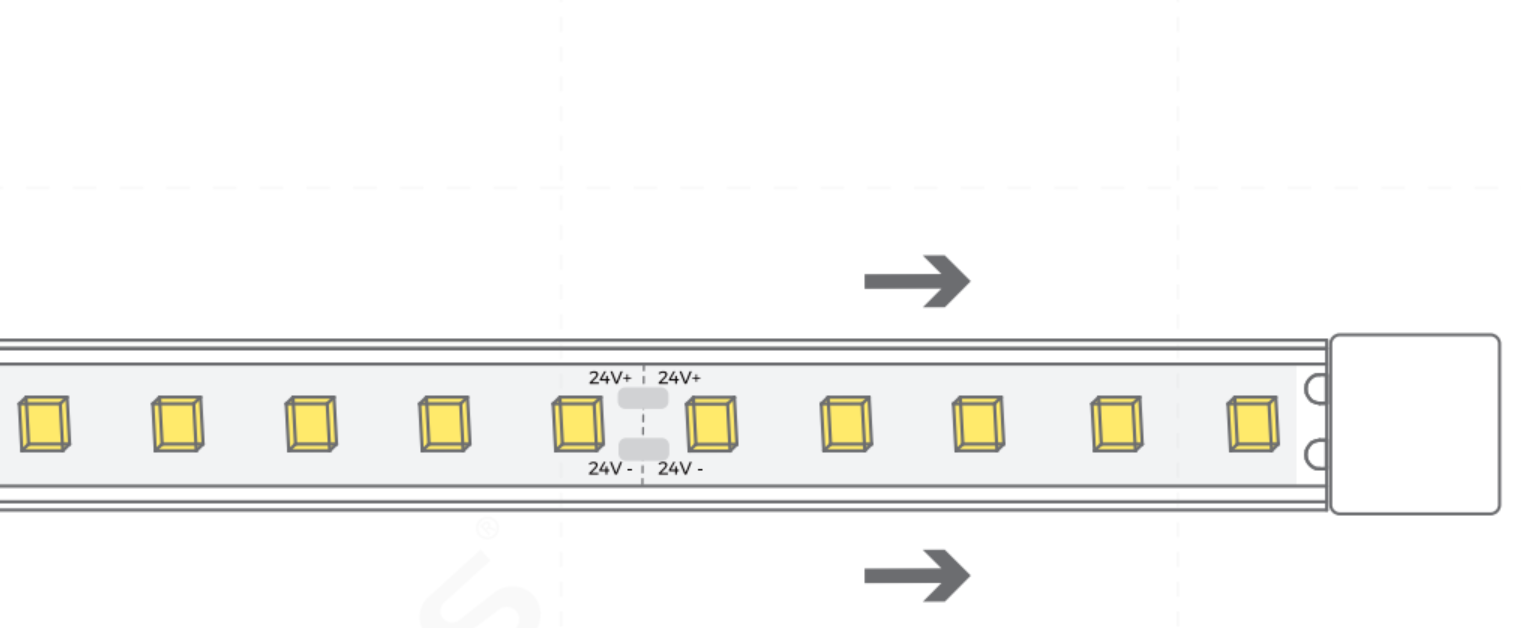
Step 9: Uncover the 3M glue release paper on the back of the LED strip in proper order and stick it to the installation position.
Note:
- The mounting surface should be cleaned in advance.
- It is strictly forbidden to tear off the 3M glue release paper on the back of the LED strips at one time.
- It is strictly forbidden to press lights or work when power is on.
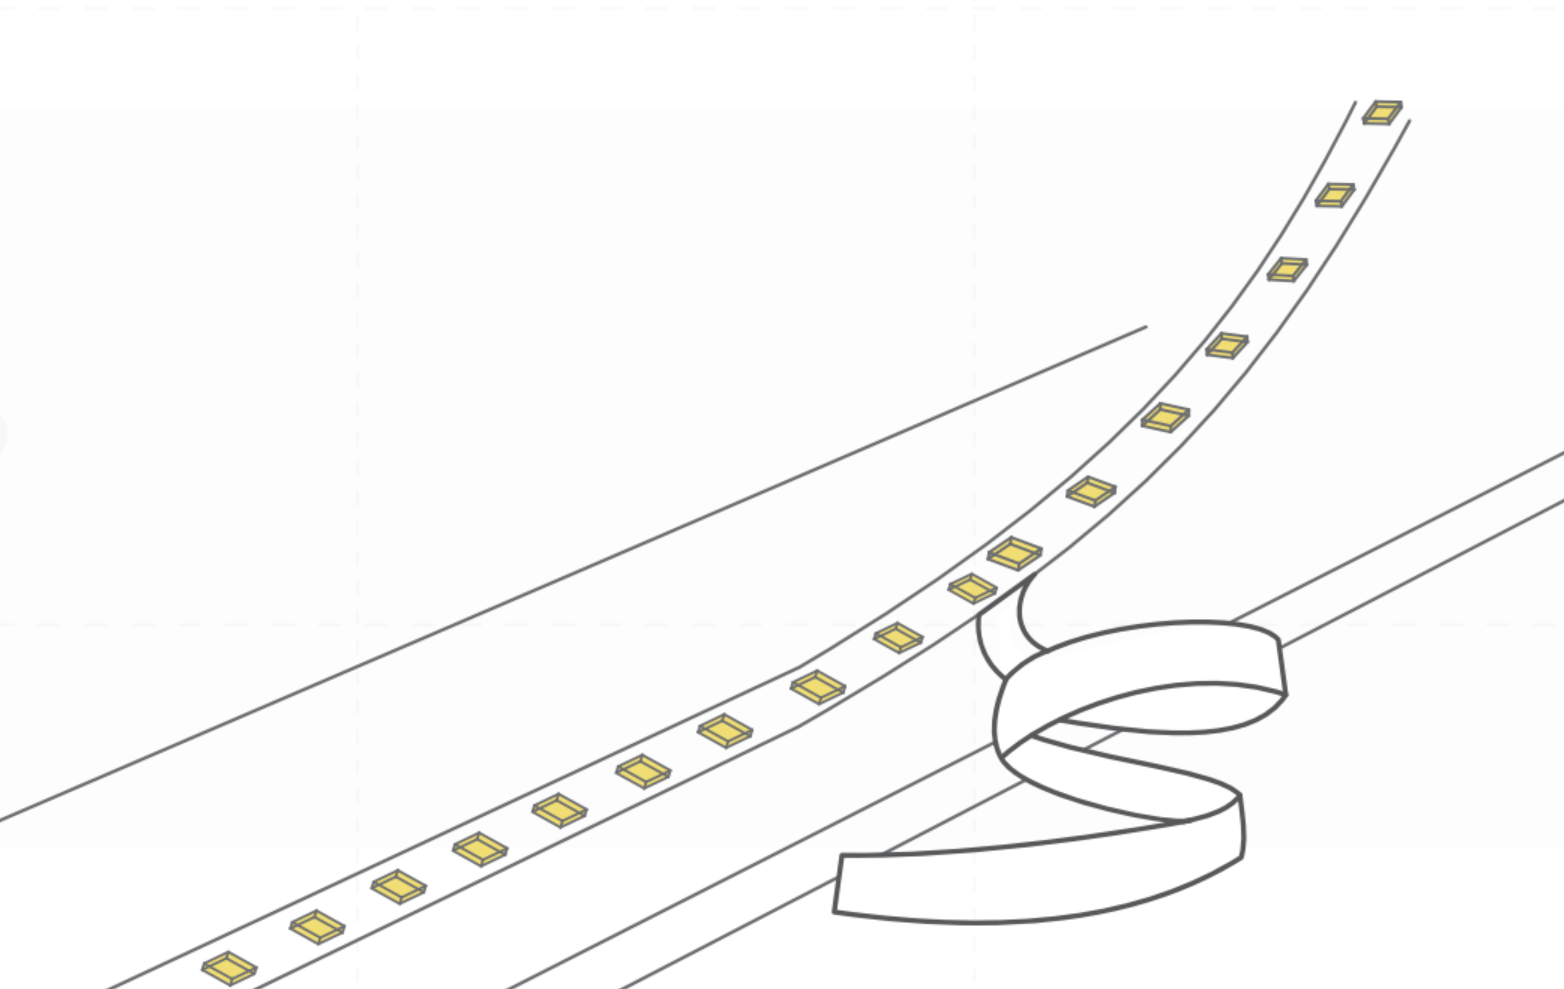
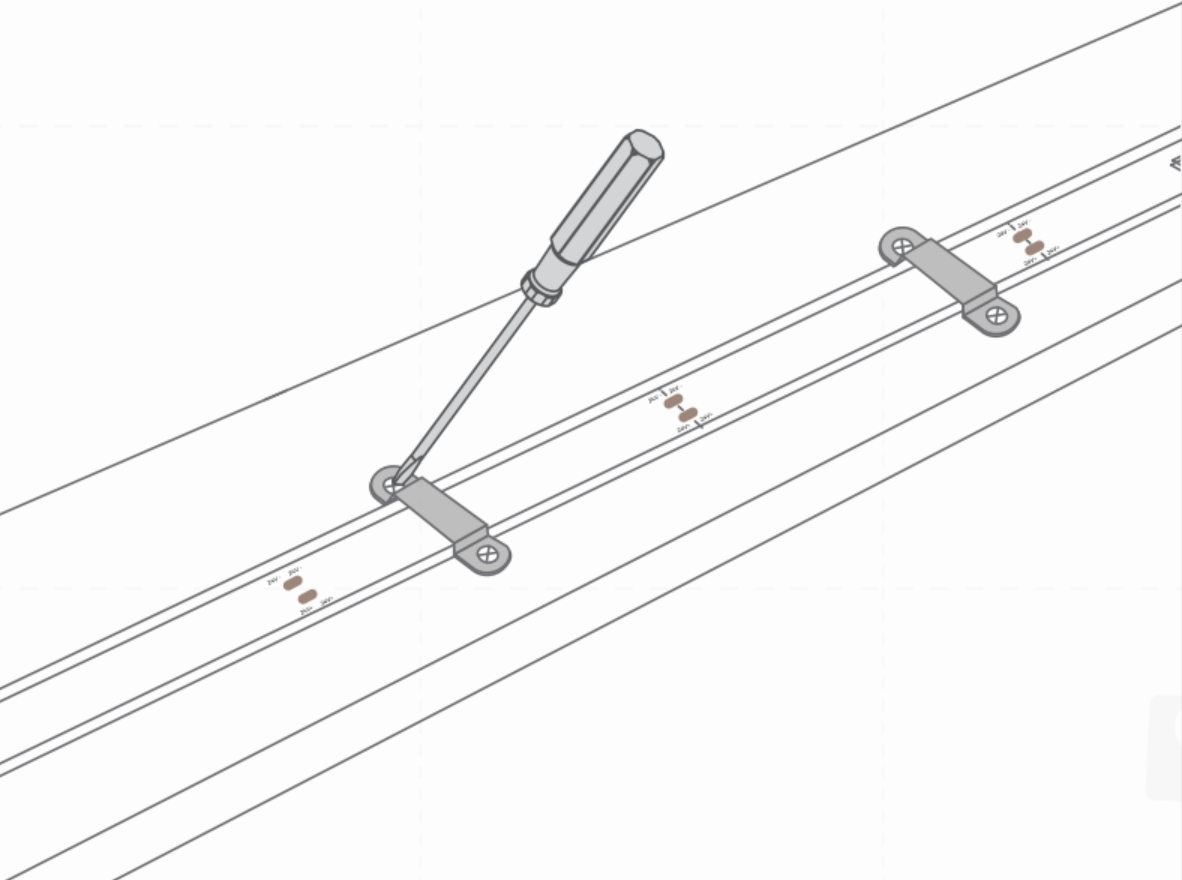
Step 10: Use the clip to install the extrusion LED strip lights in a fixed position.
How to Connect the Extrusion LED Strips to Power Supply?
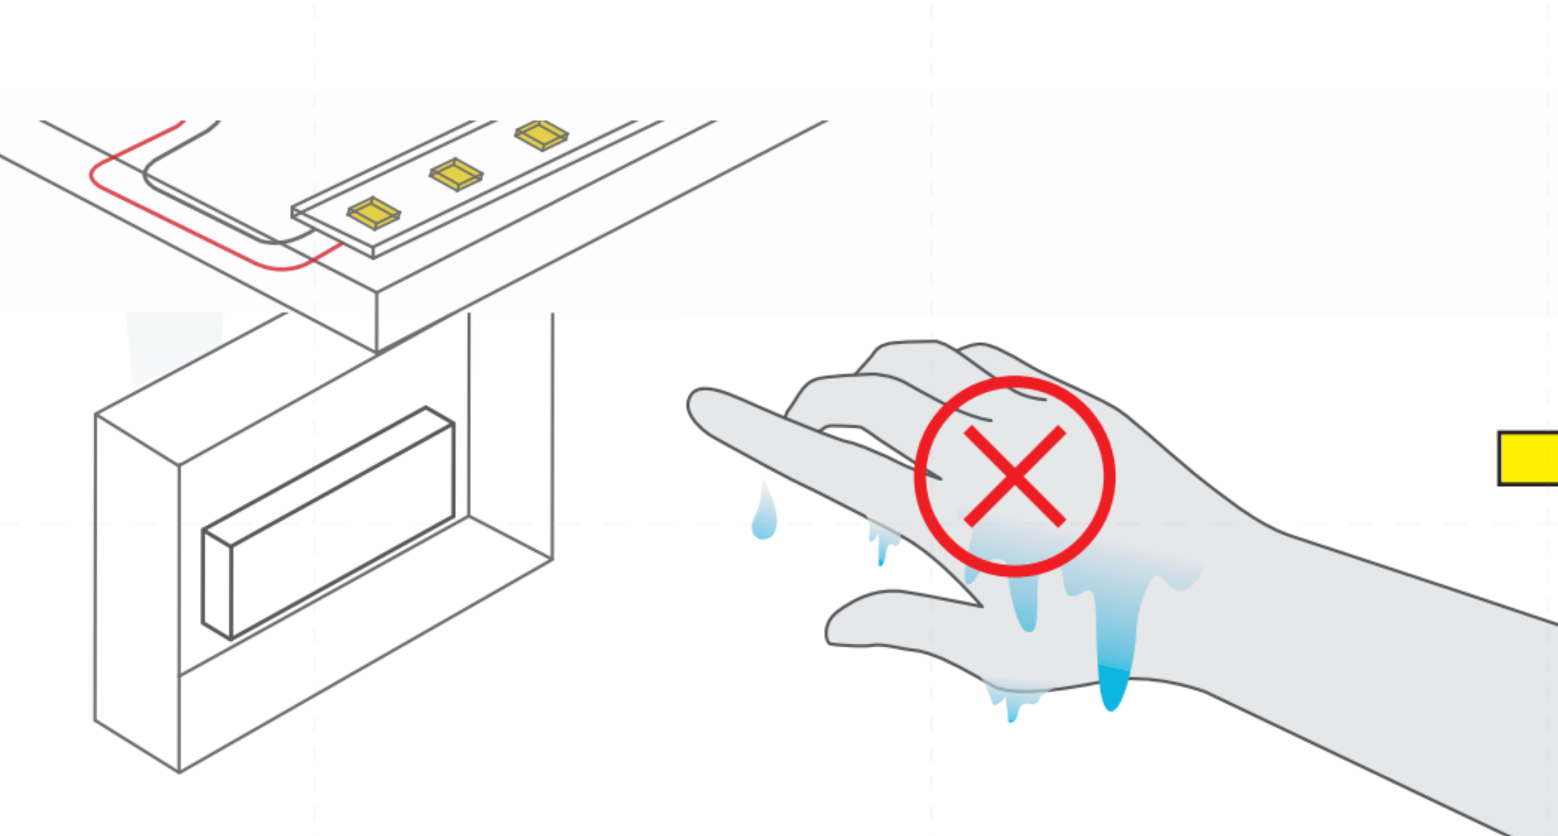
Step 1: Install the power supply in a suitable location.
Note: Do not touch with wet hands to prevent electric shock.
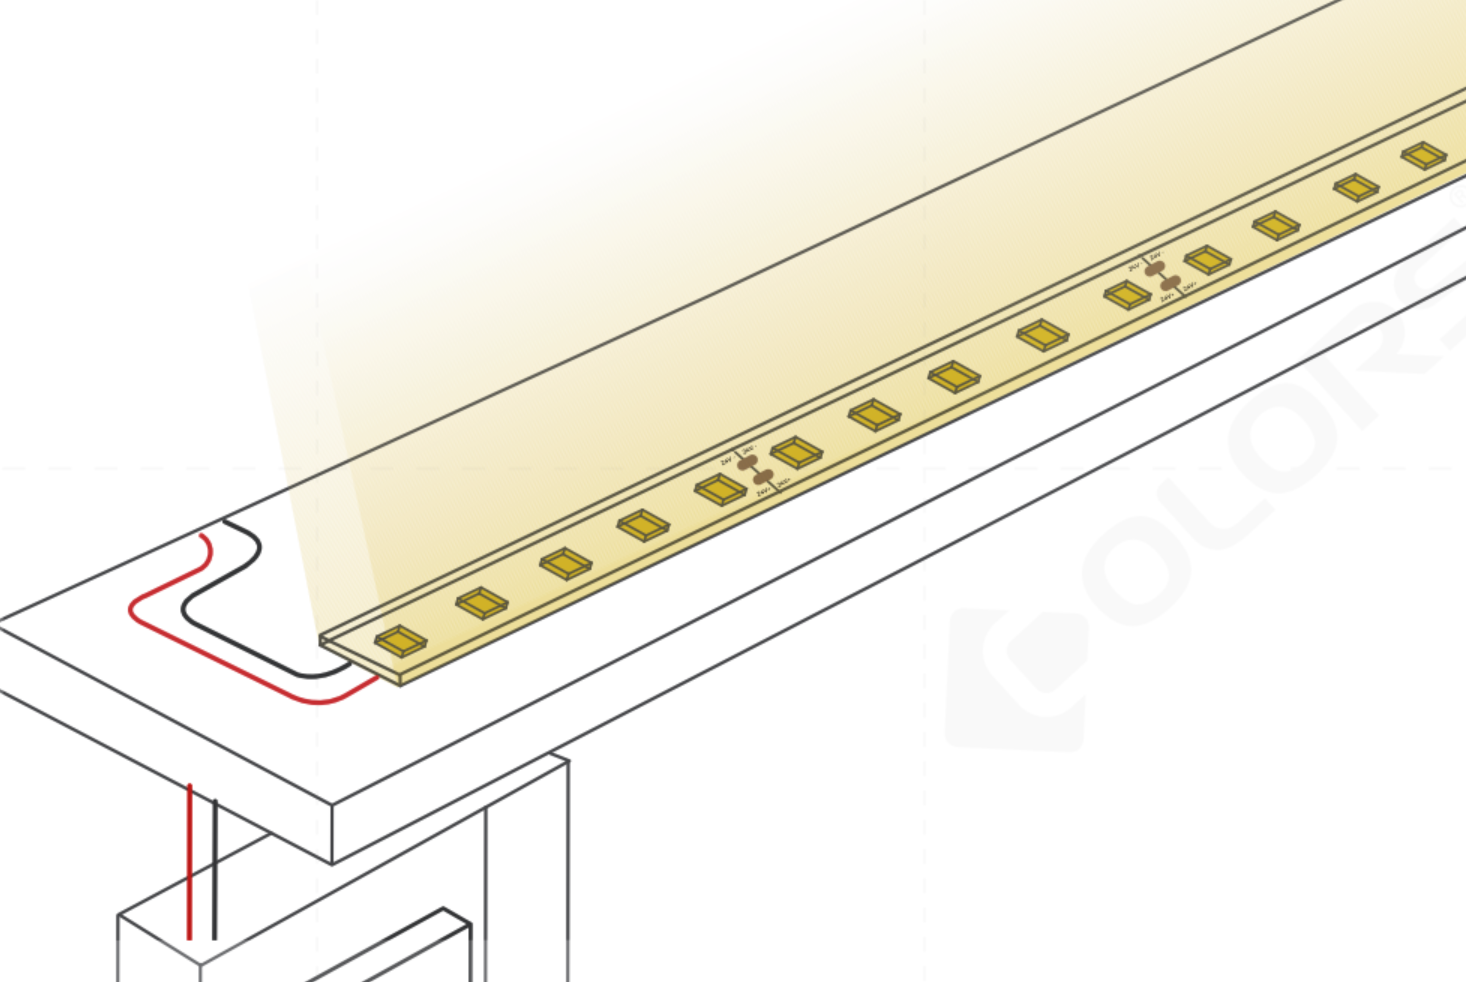
Step 2: Connect the red and black wires of the extrusion LED strips to the power supply.
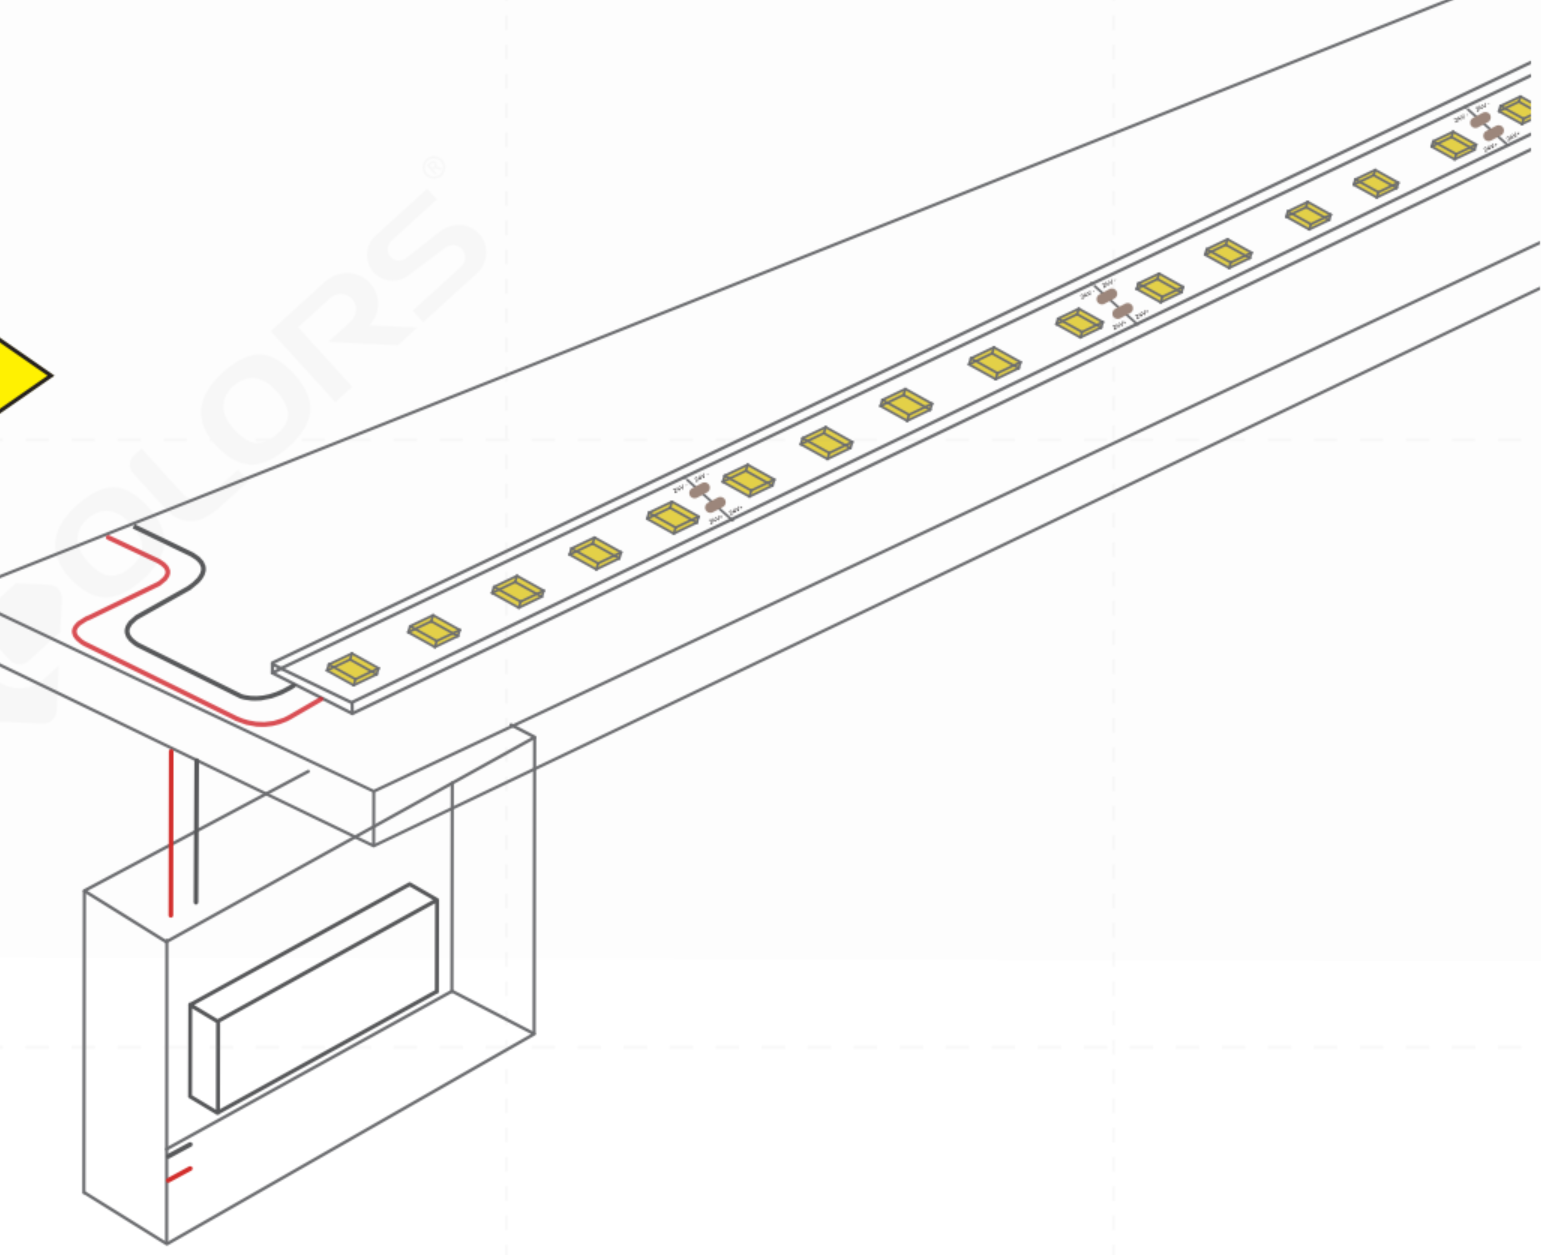
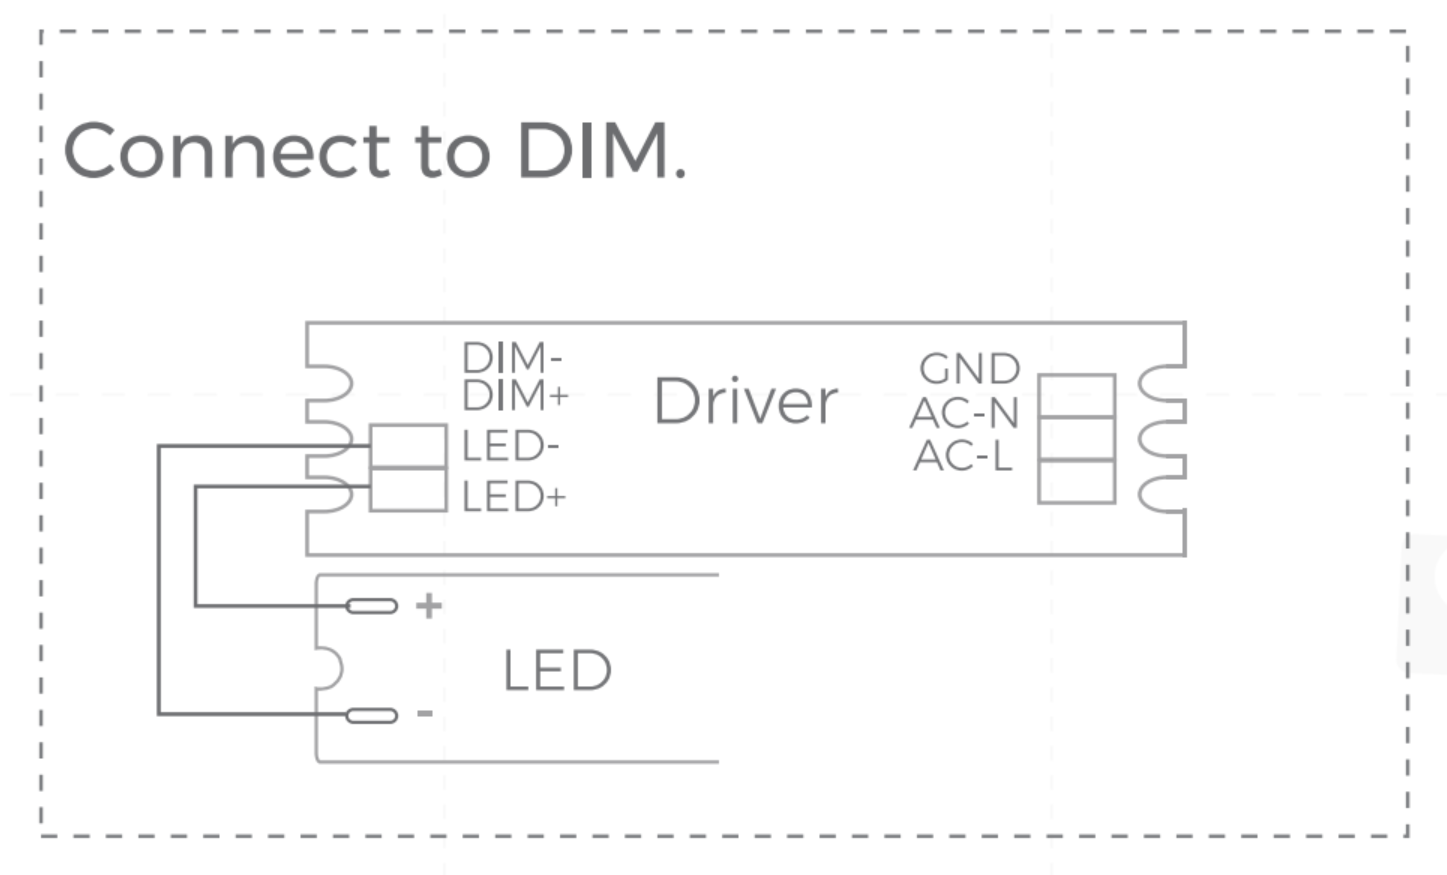
Step 3: Turn on the power and light up the LED strip.
Tips for Installing Extrusion LED Strip Lights
During installation, always ensure:
- Cut only at the designated cutting position.
- Confirm positive and negative polarity before wiring.
- Test the LED strip before final sealing.
- Fill the end cap with glue to ensure waterproof performance.
- Remove excess glue after sealing for a clean finish.
- Before installation, make sure the mounting surface is clean, dry, free from dust, oil, and other contaminants. A clean installation surface helps ensure better adhesion and long-term performance.
- Avoid excessive pulling, twisting, or squeezing during installation.
- Do not install the LED strip under continuous mechanical stress.
- To avoid damage to the internal PCB and waterproof structure, do not bend the LED strip below the recommended minimum bending radius.
Installation Precautions for Extrusion LED Strips
1. Install in a space without chemicals like sulfur, acid, or halogen.
2. The ambient temperature of the product is -20℃~40℃.
3. The quality of the atmosphere should not be lower than the national secondary standard.
4. During the installation process, pay attention to the positive and negative poles of the power cord, and do not connect them incorrectly. The power output must be consistent with the product voltage.
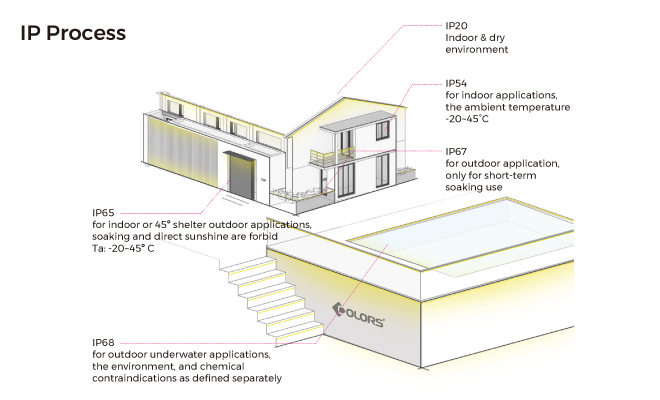
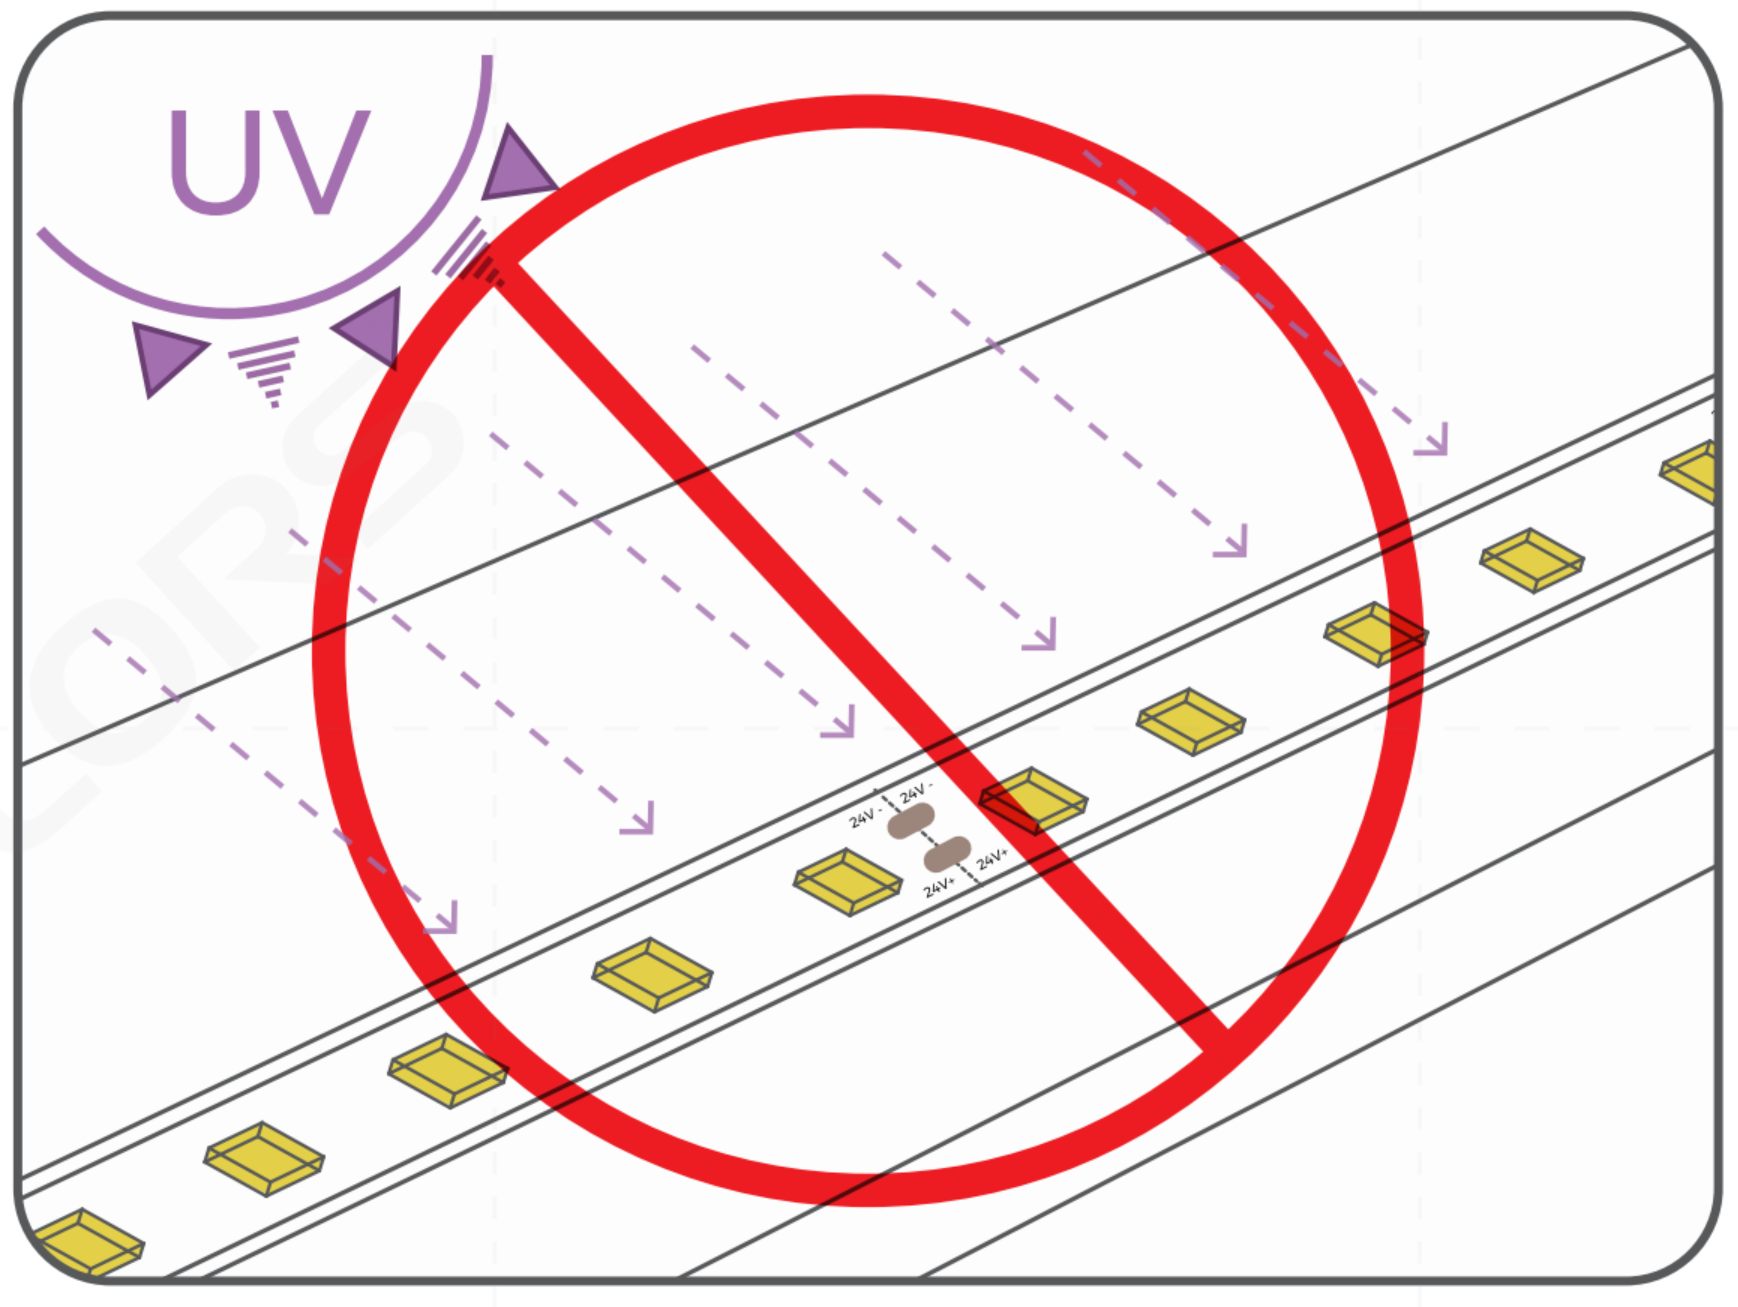
5. Extrusion waterproof (IP67/IP68 rating) products can be used indoors and outdoors, suitable for short-term immersion environments, and can withstand the water pressure of 1m underwater for a short time, but the product needs to be protected from external extrusion and direct ultraviolet radiation.
6. To ensure the luminous effect, every five-meter-long LED strip should be connected to a driver.
7. Please pay attention to the operation: when the power is working, do not touch the AC power terminal to prevent electric shock.
8. It is recommended to use only 80% of the driver's electricity to protect the LED strip from damage caused by overload.
9. To avoid damaged components caused by surge voltage or unstable current, please use a stable driver to power up the strip.
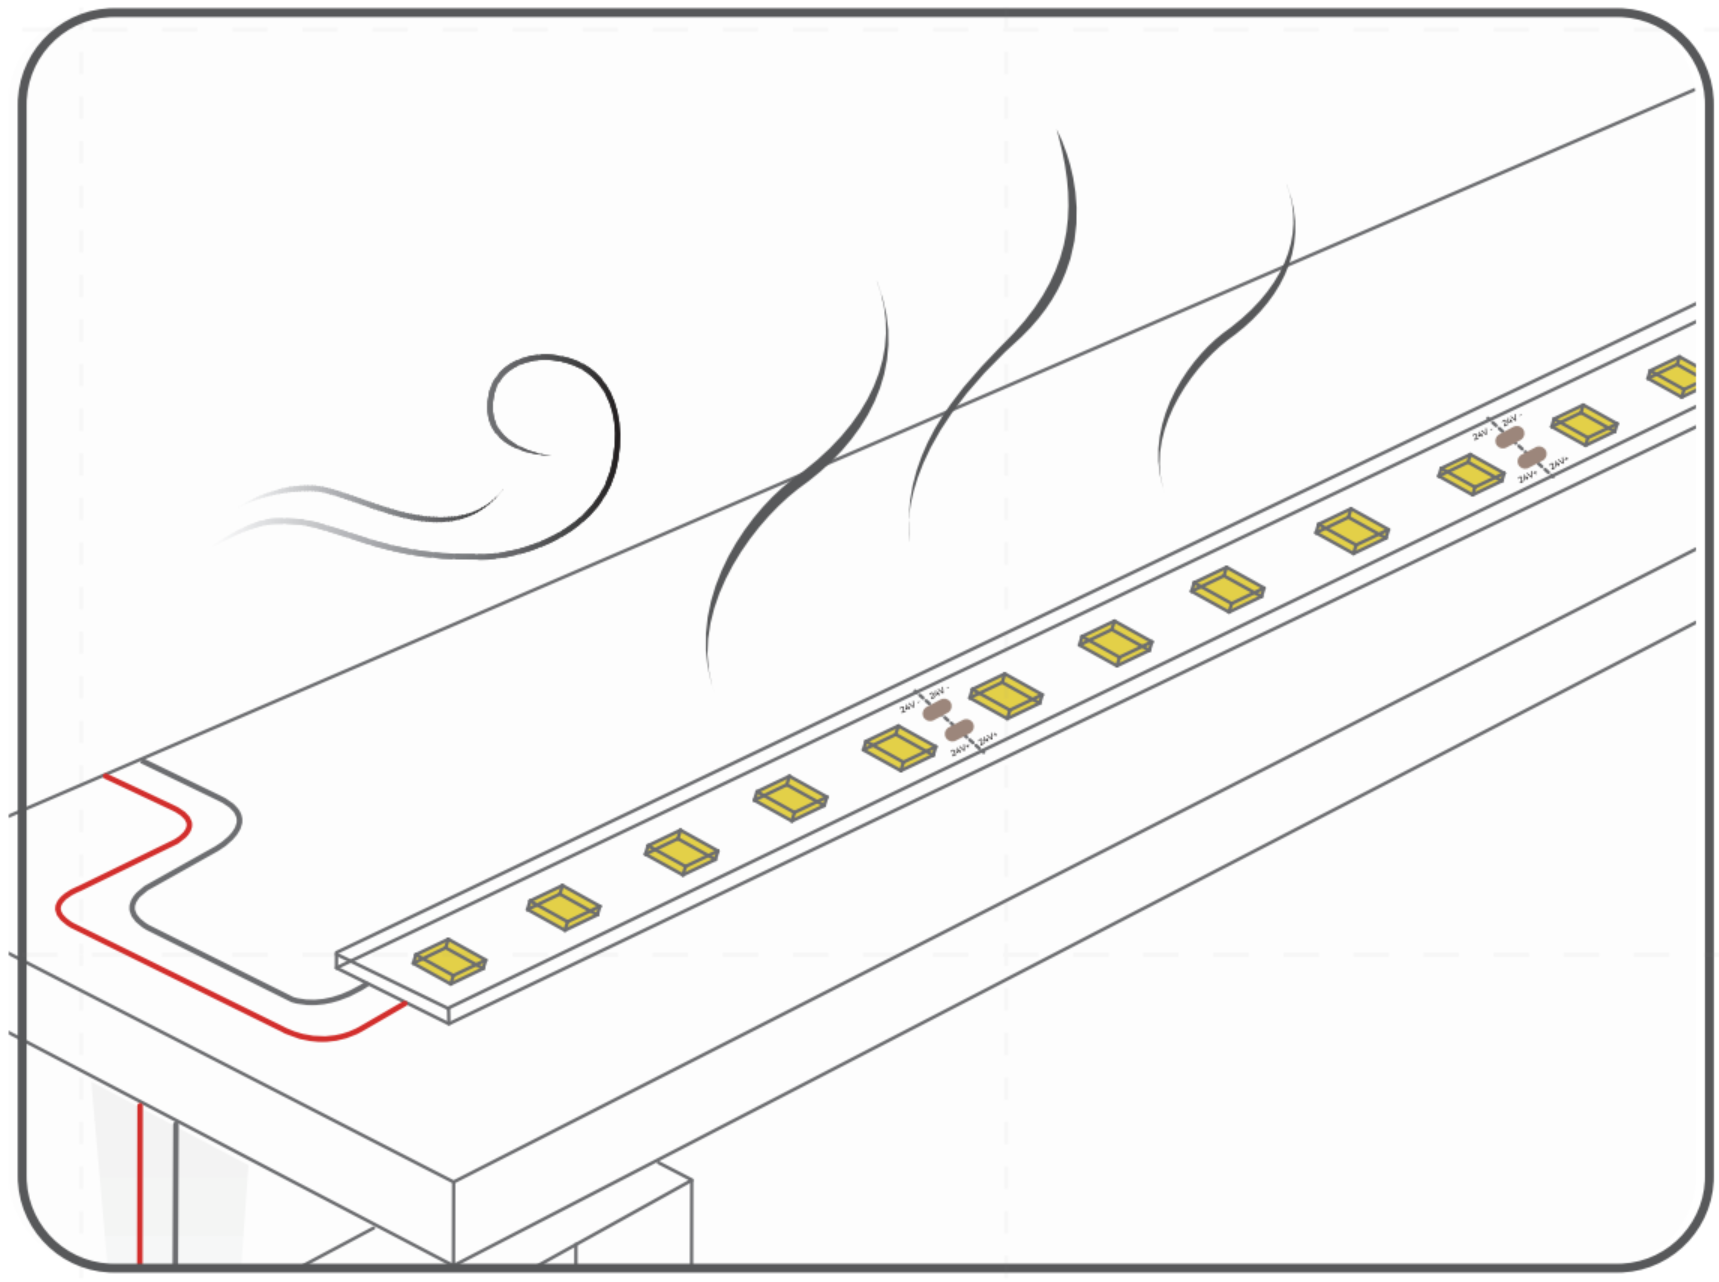
10. LED strip products will release a lot of heat during use, and the product must be used in a ventilated environment.
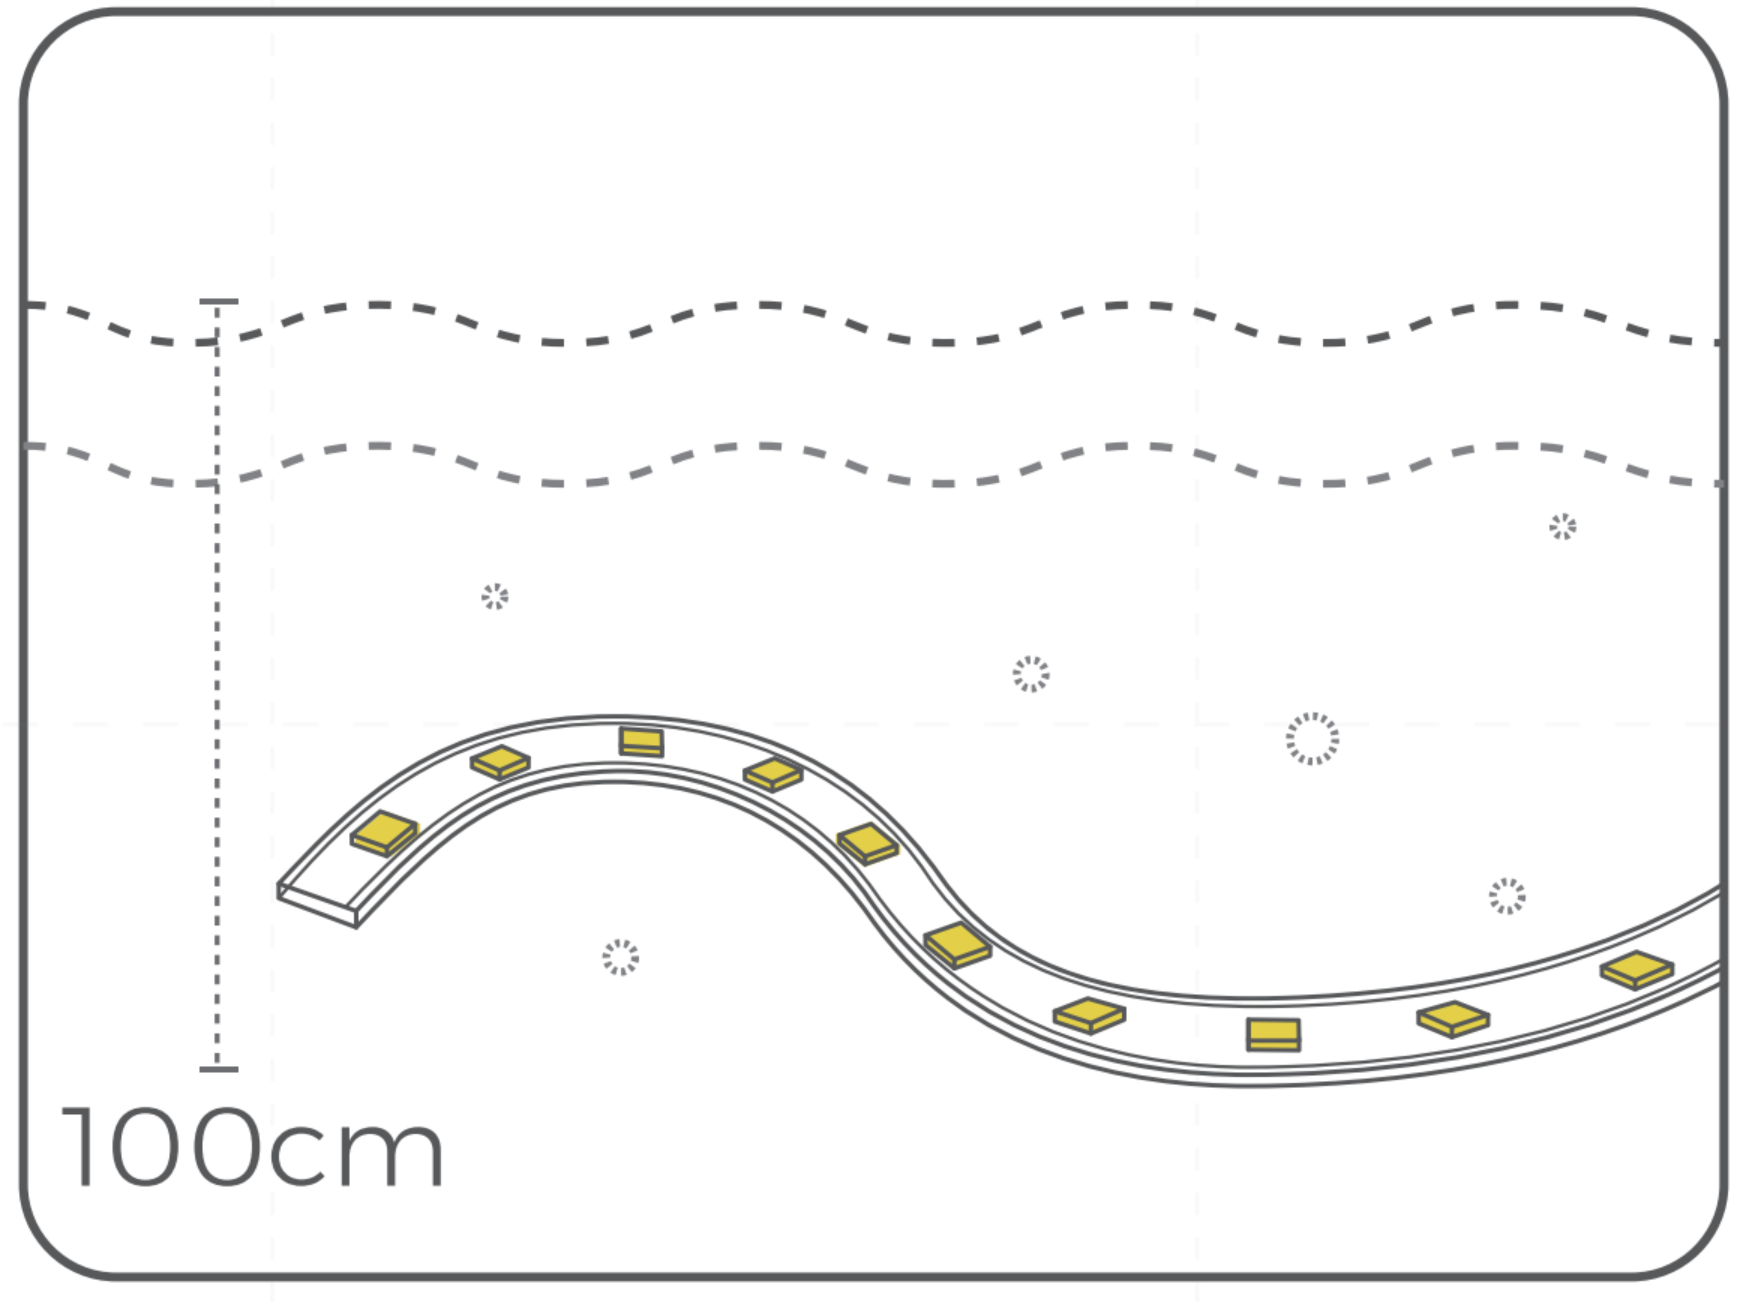
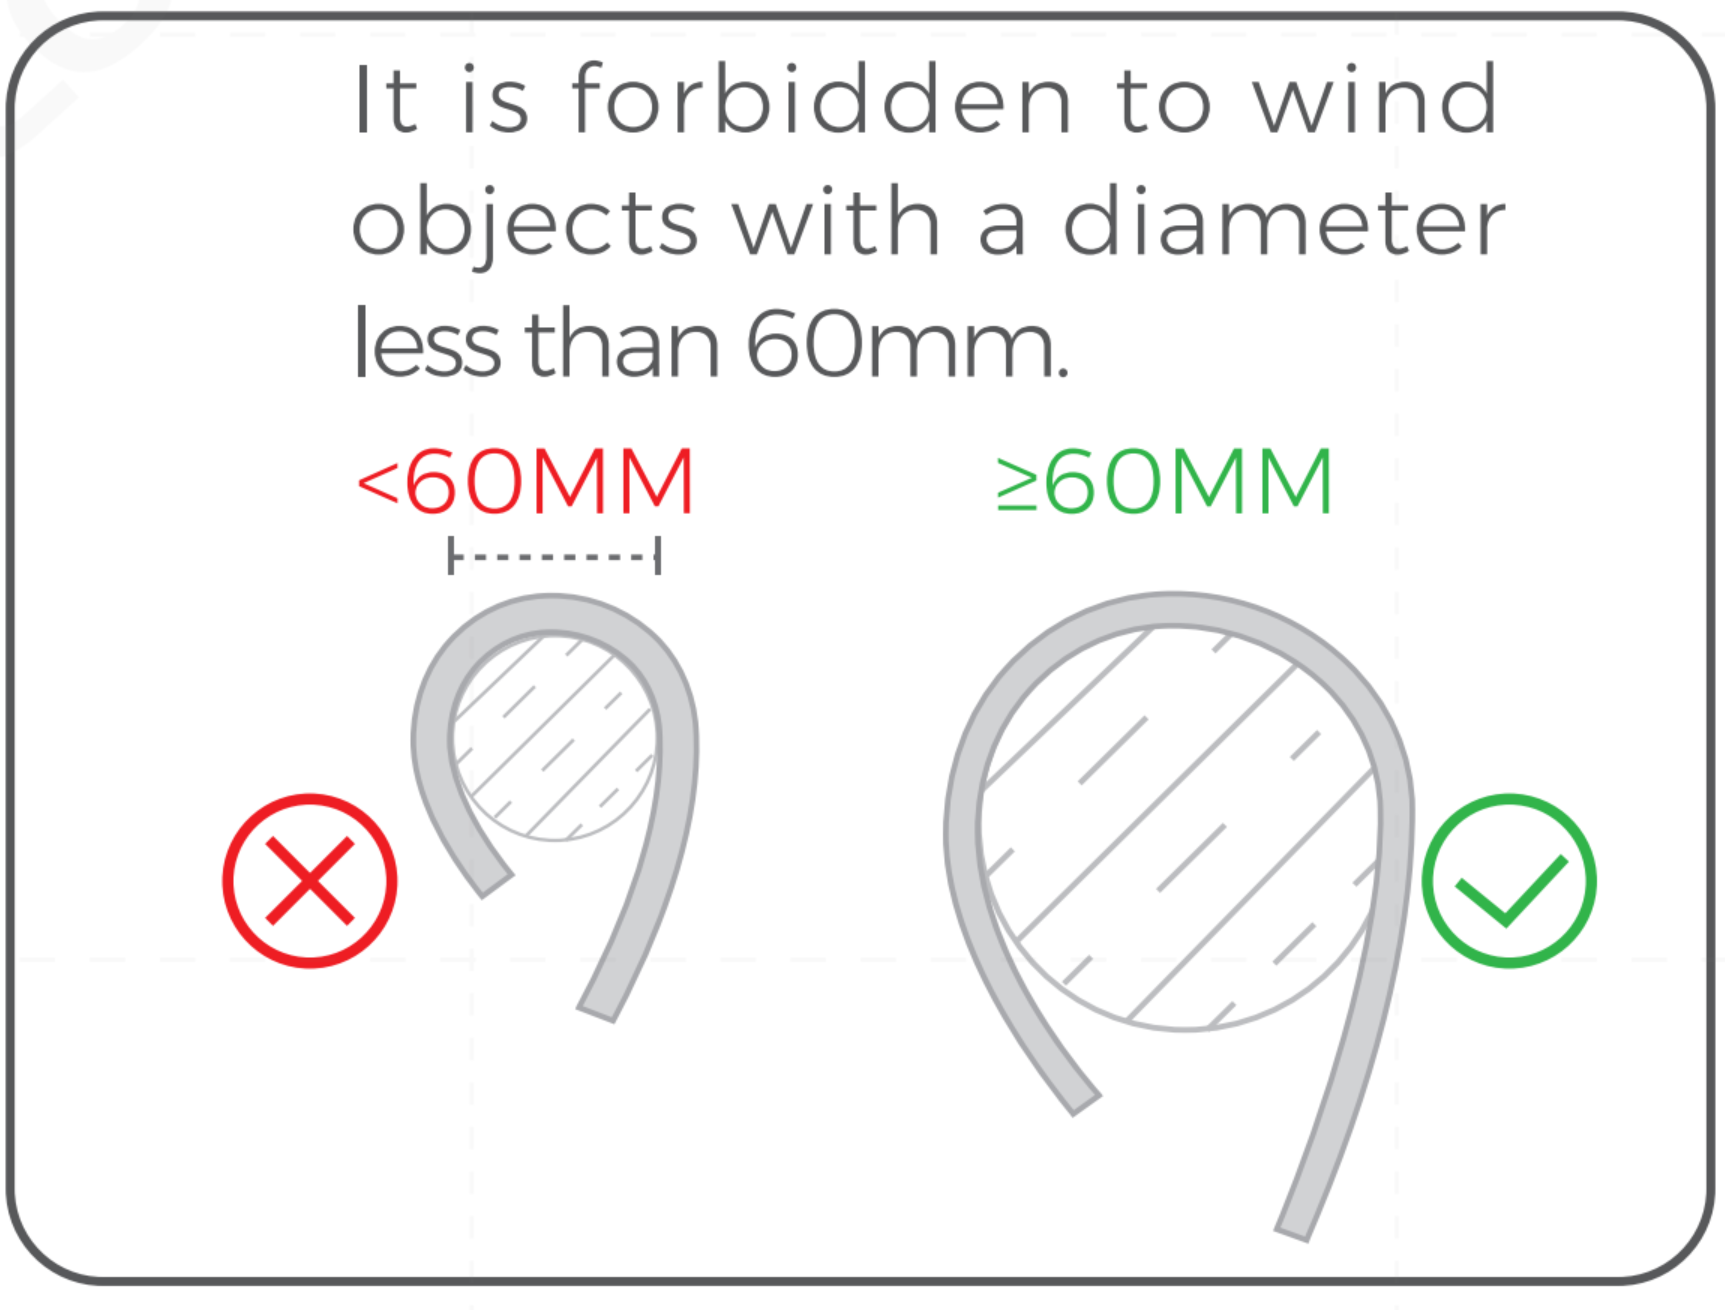
11. To ensure the life and reliability of the LED strip light, please do not bend it in an arc less than 60mm in diameter, and do not fold it in half to avoid damage to the lamp beads or breakage.
Note: It is forbidden to wind objects with a diameter less than 60mm.
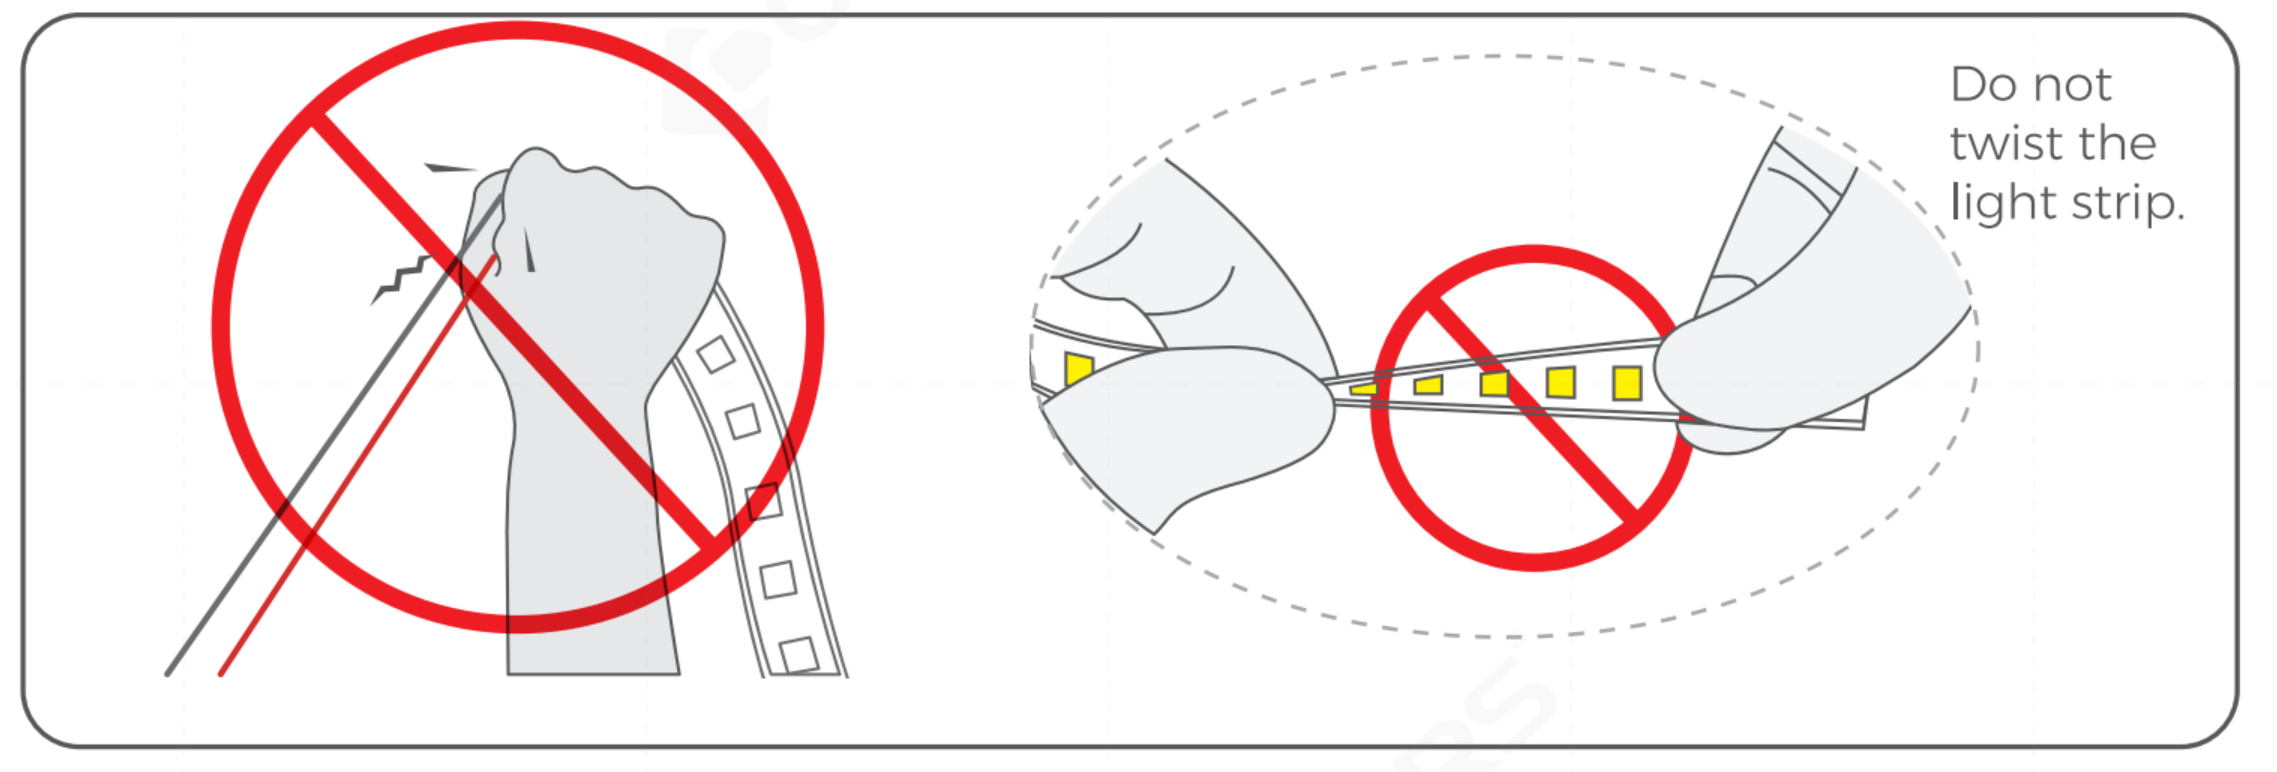
12. To ensure the long lifespan of the LED strip, please do not pull the LED strip or driver wire hard during installation and use.
For non-replaceable light sources: The light source of this luminaire is not replaceable; when the light source reaches its end of life, the whole luminaire shall be replaced.
Product Warranty for Extrusion LED Strips
The product warranty varies by company, in this article, we are using COLORS Lighting as an example.
Product warranty from COLORS Lighting:
1. A warranty period of 3 years is provided for products in normal use. For any faults arising during the period that are approved to be quality issues after being inspected by our company, a product of the same model will be replaced for free.
2. The warranty does not cover any of the following situations:
(1) Any product damage due to usage not allowed in the instructions.
(2) Any product damage due to disassembling or wrong operations by the user.
(3) Severe appearance damage or deformation of the product.
About COLORS Lighting:
COLORS Lighting is your one-stop solution provider for linear light sources, offering a comprehensive range of products including LED strips, neon flex, LED profiles, power supplies, and controllers. You can conveniently purchase everything you need in one place. We offer multiple options for power, color, correlated color temperature (CCT), and color rendering index (CRI).
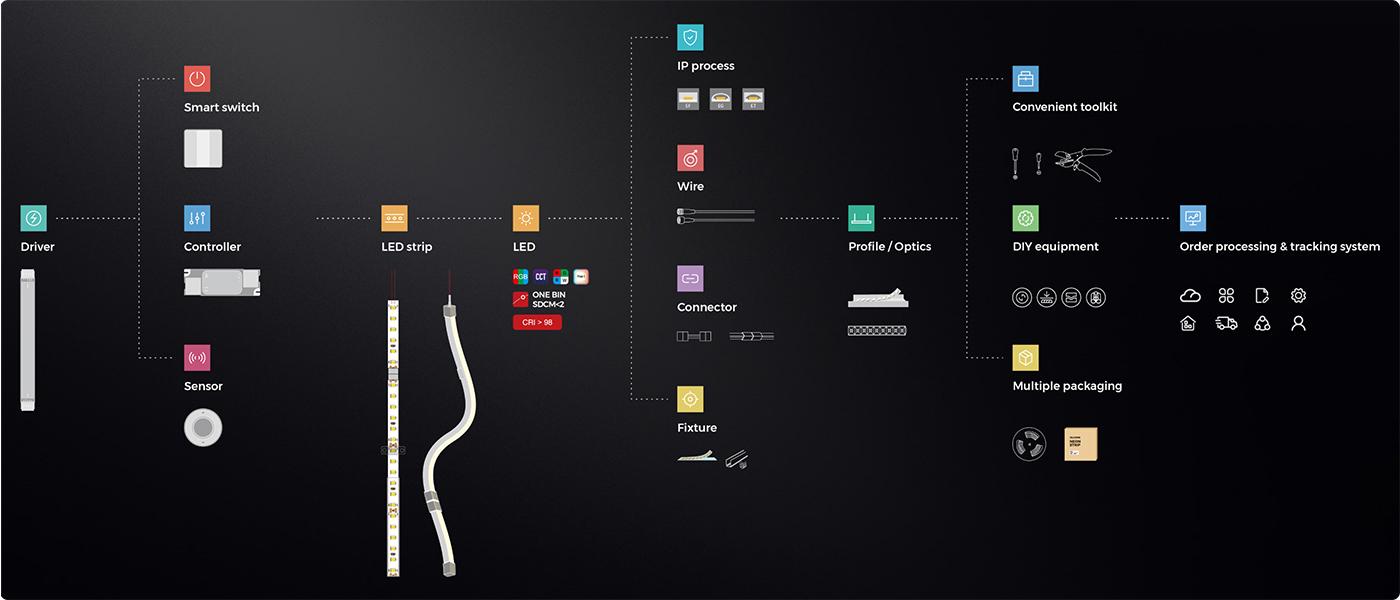
Our products are designed with advanced protection processes such as silicone integrated extrusion and nano coating, allowing us to achieve waterproof ratings of IP55, IP65, IP67, and IP68. Additionally, our products are certified by recognized standards, including CE, CB, ROHS, and UL, making them suitable for a wide variety of indoor and outdoor lighting applications.
FAQs About Extrusion LED Strips
Can I Cut the LED Strip Anywhere?
No. Always cut the strip at the designated cutting position.
Why Should I Test Before Sealing?
Testing before glue sealing helps prevent unnecessary rework if wiring errors exist.
Why Must the End Cap Be Completely Filled with Glue?
Complete filling ensures reliable waterproof performance and prevents moisture from entering the connector.
Can I Power on Immediately After Glue Injection?
No. Wait until the glue is fully cured before applying power.
Can I Use Chemical Cleaners?
No. Use only a soft cloth for routine cleaning.
Why Are All LEDs Not Lit or No Color Changing?
Please check the following items:
1. Ensure that the power is turned on.
2. Verify that the polarity is connected correctly and not reversed.
3. Check for any short circuits in the exterior power supply.
4. Determine if there is a short circuit caused by the automatic short-circuit protection of the driver.
5. Inspect the fuse to see if it is blown; if it is, please replace it.
If you identify any issues from the list above, please take the necessary steps to resolve them.
Why Are Some LED Strips Not Lit?
Please check the following items:
1. Ensure all power supplies are on.
2. Check for errors in the circuit.
If errors exist, inspect the driver circuit to resolve the issues.
Why Is There Inconsistent Brightness in the LED or the LED Is Not Bright Enough?
Please check the following items:
1. Power Supply Overload: Check if there is an overload in the power supply. If so, consider adding more drivers.
2. Loss in the Switching Power Supply Circuit: If there is significant loss in the circuit, try using thicker driver wires or moving the driver closer to the LED strip. Make sure the voltage of per five meter LED strip is kept above 95% of the rated voltage.
3. Too Many LED Strips in Series: If you have too many LED strips connected in series, reduce the number of strips to match the capacity of your power supply.
Why Do the LEDs Flash?
Please check if the connection is in poor contact; if so, please find out the bad unit.
Why Are There Individual LEDs Not Lit?
Please check if it is caused by a static breakdown, or by the faradic electricity breakdown of equipment, or by electricity leakage. If so, please make sure the related electrical appliances are connected to the earth wire correctly and replace the LEDs.
Conclusion
Correct installation is essential to achieve the best waterproof performance, lighting quality, and service life of the extrusion LED strip. Always follow the recommended installation procedure, verify electrical connections before sealing, and perform regular inspections to ensure reliable operation in demanding indoor and outdoor environments.